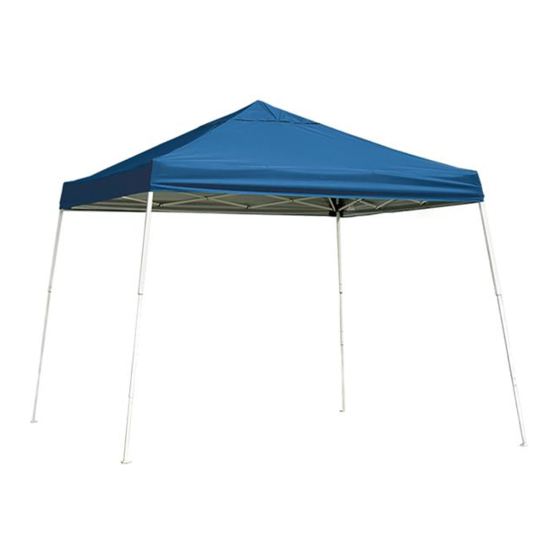
CANOPY 22576 Manuale di avvio rapido
Sfoglia online o scarica il pdf Manuale di avvio rapido per Tenda CANOPY 22576. CANOPY 22576 2.

CANOPY PART LIST
No.
Part #
1
15266
Leg tube(A)
15271
2
Leg tube(B)
3
Corner cover for leg tube
15270
4
15239
Inner washer for leg tube
5
15240
Slide connecter for leg tube
6
15237
Plug for leg tube
7
15274
Gemel (Folding Holder) A
8
Gemel (Folding Holder) B
15275
9
15277
Slide tube(A)
10
15278
Slide tube(B)
15279
Inclined holding tube
11
12
15280
Hex bolt 1/4" L40
Hex bolt 1/4" L37
13
15281
14
15283
Hex bolt 1/4" L26
Hex bolt 1/4" L25
15
15284
16
15256
Nut 1/4"
17
15257
Spring pin fit for 15266
Spring pin fit for 15271
18
15348
19
15285
Top crest
20
15286
Plug for gemel
21
Gemel Corner bush(A)
15287
22
15288
Gemel Corner bush(B)
23
15289
Gemel Corner bush(C)
Gemel Corner bush(D)
24
15351
25
15263
PP washer
26
15290
Cover
10431
27
Anchors
For Replacement Parts or Help with assembly, Please call:
Customer Service:
1-800-524-9970
Mon-Sat EST
Page 4
Description
Qty
4
4
12
4
4
4
8
8
4
4
4
20
4
16
12
52
4
4
1
56
44
24
20
4
12
1
4
8am-7pm
01-22576
"Sets Up in 60 Seconds!"
SET UP
STEP 1
Begin by placing your canopy near
the center of the set-up area. Along
with a helper grasp a canopy leg in
each hand. Slightly lift the frame off
the ground and step backwards,
pulling the frame apart until your
arms are fully extended as shown
in the illustration.
STEP 2
Carefully unfold the fabric top and
place it over the frame, making
sure to align the corners of the top
with the corners of the frame.
STEP 3
While taking care not to pinch your fingers, grasp the frame section
marked "Open Here" and push up until the canopy is fully opened.
Do not put
your hand like
the picture.
Page 1
2/1/04
Model #22576
10 x 10
POP-UP CANOPY
Please read instructions
COMPLETELY before assembly.
Missing Parts,Need Replacements,or Help
with Assembly Please Contact Customer Service:
1-800-524-9970
West Haven, CT 06516
STEP 4
Slide the auto slider at
each corner up, while
holding the corner of the
frame down until the snap
button engages into the
hole. Then, pull the corner
of the cover down snugly.
STEP 5
Attach the top to the frame by matching the loop fastening strip on
the frame. pull the corners down fully. Push the loop firmly together
at each corner.
STEP 6
Lift up outer legs and slide out
the inner legs until the snap
button locks. Repeat on the
opposite legs.
01-22576
2/1/04
