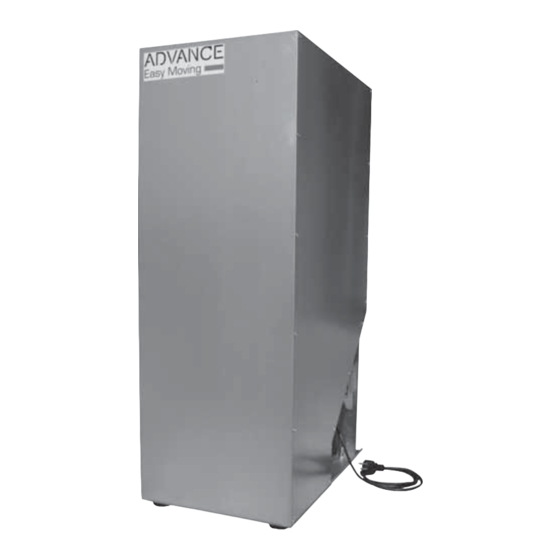
ADVANCE Easy Moving M-TANK Manuale di montaggio, uso e manutenzione - Pagina 9
Sfoglia online o scarica il pdf Manuale di montaggio, uso e manutenzione per Caldaia ADVANCE Easy Moving M-TANK. ADVANCE Easy Moving M-TANK 17.

9 ELECTRICAL CONNECTION
Before making the electrical connection to the
mains, check that the voltage corresponds to that
required and that the electrical system to which the
product is connected is built in compliance with
current regulations.
Connect the two wires called REED with the corresponding
ones coming from the sensor of the dispenser installed
on the boiler (see fi gure 3 and dispenser instructions).
10 START UP AND USE
Before starting the fi rst ignition of the motorized storage
unit, make sure that:
• inside the warehouse there are no objects, rags or
processing residues, so discharge into it a quantity of
fuel (pellets) that exceeds the minimum level sensor
• the warehouse is stable and the pipes are connected
to it properly
• the electrical connections are correctly and permanently
fi xed
• the led of the minimum level sensor is switched on
• the power supply is correct and stable
• the exhaust door of the dispenser (see dispenser
instructions) is closed and there is room in the boiler
tank for further fuel to fl ow.
At this point the fuel transport can start, place the red
light switch on 1 and the system will start operating.
To adjust and set the running time of the engine, it is
necessary to act with a screwdriver on the potentiometer
positioned on the electrical panel (see Figure 4) clockwise
to increase the running time of the engine, vice versa
counterclockwise to shorten the running time.
It is important that the operating time is suffi cient to
transport only the appropriate amount of fuel to fi ll
about half the volume of the dispenser (see dispenser
instructions), a shorter time will allow less fuel to be
transported, but too long a time could overfi ll the
dispenser and damage the system.
15/12/21 Rev:1.0.1
fi gure 3
English
REED
Connection to
the dispenser
23 0
2 3
23 0
2 3
V
0 V
0 V
V
230 V ac
fi gure 4
9
