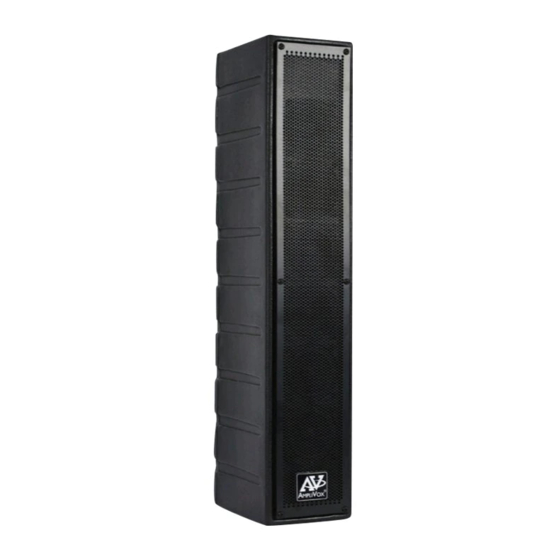
AmpliVox SW1234 Manuale d'uso - Pagina 5
Sfoglia online o scarica il pdf Manuale d'uso per Altoparlanti AmpliVox SW1234. AmpliVox SW1234 8. Line array speakers

SS1234 / SW1234 FEATURES
BACK PANEL
Power Switch.
Main Volume Control - This knob controls output
loudness.
Mini Jack Input - Projector Audio. To play music,
just plug in your CD player, MP3 player or an Am-
plivox Bluetooth Receiver.
Mini Jack Output - This jack outputs all the sound
from the microphone input and anything plugged
into the INPUT jack.
XLR / 1/4" Combo Jack -
unbalanced microphones that have either XLR or phone
plug connectors.
Microphone Volume Control - This knob controls
output loudness from microphone.
DC Adapter Connector - Plug-in the 110/220 V
adapter here.
RCA Output Jacks - These jacks, output all the
sound from the microphone input and anything
16 CHANNEL UHF WIRELESS MICROPHONE SETUP
RECEIVER / TRANSMITTER SETUP
The receiver has its own POWER / VOLUME Control.
Turn Power On. A Frequency Channel will appear in the
Channel Display .
channel. Channel number must match channel number on
wireless transmitter.
The transmitter bodypack is operated by 1 - "AA" 1.5 Volt
alkaline battery. Slide off battery cover and install battery as
shown. Make certain the battery is fully seated in its compart-
ment so the cover slides in place easily. Battery life with alka-
line batteries is approximately 8 hours of operating time.
Select a channel (1-16) on side panel
screw driver to select channel number. Channel selected
should match channel on receiver. When transmitter and
receiver are set to correct channel the RF indicator
glow red when transmitter is turned on.
Plug the Lapel microphone into the Microphone Input Jack
The microphone can be clipped to a necktie or other clothing,
using the supplied clip. The lapel microphone should be
placed under the chin, as close to the center of the body as
possible.
Slide the power ON/OFF switch
LED indicator light will illuminate green). Replace batteries
when this LED turns red.
To connect balanced or
Press Select Buttons
to select a
using the supplied
to the ON position (the
16 CHANNEL UHF RECEIVER
RF - Radio Frequency Indicator - When receiver
and wireless transmitter are set to the same chan-
nels, this LED will light giving you confirmation that
the two are in sync with each other.
ASC / IR Auto Channel Select - This is an Auto
Channel Sync function that is only used with the
Handheld Microphone S1695.
Volume Control - Balance wireless microphone out-
put loudness with Main Volume Control.
Mute Level Adjustment - Adjustment control for wire-
less microphone signal. In normal operation, the
MUTE LEVEL should be set fully counterclockwise
to the factory preset minimum RF level. However, in
areas of high RF activity, the mute (or squelch, as it is
sometimes called) may need to be adjusted to com-
pensate for the adverse conditions in a particular lo-
cation.
AF - Audio Frequency Indicator lights when audio
signal is received from microphone.
Select Buttons - Manual Channel Selection.
Channel Display
Wireless Microphone Transmitter - Bodypack
will
5
Battery Cover
Channel Selector
Top Panel
