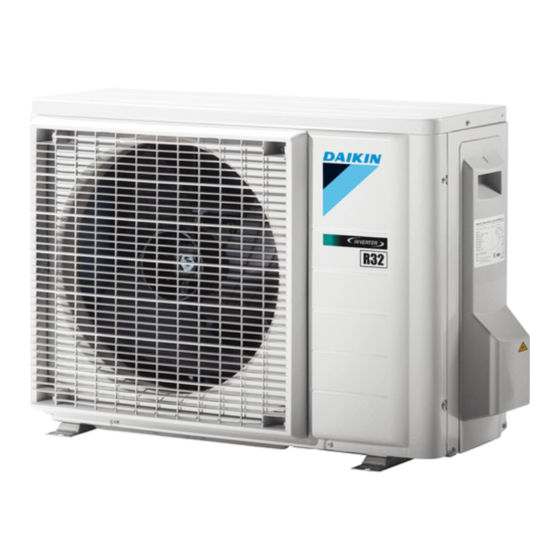
Daikin 4MWXM A9 Series Manuale di installazione - Pagina 7
Sfoglia online o scarica il pdf Manuale di installazione per Condizionatore d'aria Daikin 4MWXM A9 Series. Daikin 4MWXM A9 Series 20.

4.1
Preparing the installation site
WARNING
The appliance shall be stored so as to prevent mechanical
damage and in a well-ventilated room without continuously
operating ignition sources (e.g. open flames, an operating
gas appliance, or an operating electric heater). The room
size shall be as specified in the General safety precaution.
4.1.1
Installation site requirements of the
outdoor unit
Mind the following spacing guidelines:
>100
>350
b
a
b
>100
a
>50
b
>100
a
>50
a
Air outlet
b
Air inlet
Allow 300 mm of work space below the ceiling surface and 250 mm
for piping and electrical servicing.
b
a
Baffle plate
b
Prevailing wind direction
c
Air outlet
Do NOT install the unit in sound sensitive areas (e.g. near a
bedroom), so that the operation noise will cause no trouble.
Note: If the sound is measured under actual installation conditions,
the measured value might be higher than the sound pressure level
mentioned in "Sound spectrum" in the data book due to
environmental noise and sound reflections.
INFORMATION
The sound pressure level is less than 70 dBA.
4MWXM-A9
R32 Split series
3P600450-7T – 2022.09
a
>350
b
>50
b
>100
a
a
>350
b
(mm)
b
a
The outdoor unit is designed for outdoor installation only, and for
ambient temperatures within the following ranges (unless otherwise
specified in the operation manual of the connected indoor unit):
DX operation range
Cooling mode
–10~46°C DB
DHW operation range
–15~42°C DB
4.1.2
Additional installation site requirements
of the outdoor unit in cold climates
Protect the outdoor unit against direct snowfall and take care that the
outdoor unit is NEVER snowed up.
c
a
Snow cover or shed
b
Pedestal
c
Prevailing wind direction
d
Air outlet
It is recommended to provide at least 150 mm of free space below
the unit (300 mm for heavy snowfall areas). Additionally, make sure
the unit is positioned at least 100 mm above the maximum expected
level of snow. If necessary, construct a pedestal. See
unit" [ 4 7] for more details.
the outdoor
In heavy snowfall areas it is very important to select an installation
site where the snow will NOT affect the unit. If lateral snowfall is
possible, make sure that the heat exchanger coil is NOT affected by
the snow. If necessary, install a snow cover or shed and a pedestal.
4.2
Mounting the outdoor unit
4.2.1
To provide the installation structure
Use a vibration-proof rubber (field supply) in cases where vibrations
may be transmitted to the building.
The unit may be installed directly on a concrete veranda or another
solid surface as long as it provides proper drainage.
Prepare 4 sets of M8 or M10 anchor bolts, nuts and washers (field
supply).
4 Unit installation
Heating mode
–15~24°C DB
a
c
b
"4.2 Mounting
Installation manual
7
