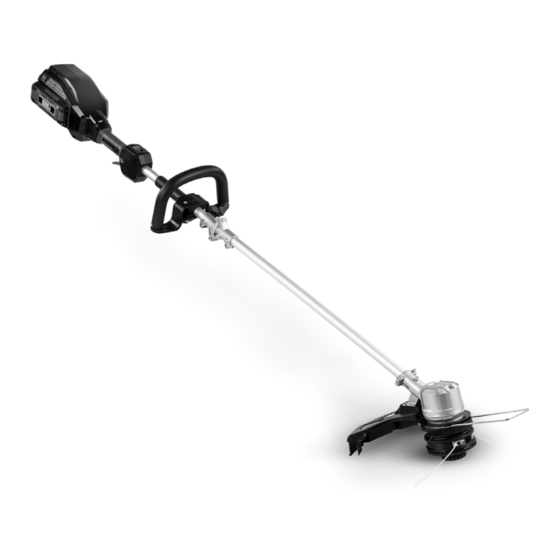
DR PRO-62V Manuale di sicurezza e istruzioni per l'uso - Pagina 13
Sfoglia online o scarica il pdf Manuale di sicurezza e istruzioni per l'uso per Trimmer DR PRO-62V. DR PRO-62V 20.
Anche per DR PRO-62V: Manuale di sicurezza e istruzioni per l'uso (20 pagine), Manuale di sicurezza e istruzioni per l'uso (20 pagine)

Chapter 4: Maintaining the DR
The Battery Pack should not leak, regardless of the position in which it is stored. Read "Handling the Battery Safely" in Chapter 1
for additional information. The Battery Pack is completely maintenance free. You never need to add water. With all rechargeable
Batteries, after years of use, they will eventually need replacement.
Use only the DR
®
62V Charger with DR
manufacturers or other DR
•
Make sure the Charger Power Supply is plugged into a normal household voltage, 120volts, 60Hz, AC only.
•
You should operate the Battery Charger in a dry place with temperatures between 50ºF (10ºC) and +100ºF (+37.8ºC).
Operating above +100 ºF can cause Battery Pack leakage, rust, or degradation of the Battery Pack performance.
•
Disconnect Charger Power Supply from the household voltage power when not in use to prevent damage to the Charger
during a power surge.
•
Periodically inspect the Cord on the Charger unit for damage. If damage occurs, do not use the Charger until you have
replaced or repaired the Cord. Do not abuse the Cord. Never carry the Charger by the Cord. Always pull the plug and not the
Cord when disconnecting the Power Supply from the electrical outlet (wall outlet) and from the Charger. When using an
extension Cord with your Charger, use a heavy-duty extension Cord of a type 'suitable for outdoor use' (although you should
never charge the Battery Pack in the open outdoors).
•
The Battery Pack requires 2-3 charging and discharging cycles before reaching full charge ability.
•
A Battery Pack may last much longer if you charge it as soon as it starts to lose power and not let it completely discharge.
Recharge the Battery Pack as soon as the trimming power of your DR Hedge Trimmer is no longer effective. This would be a
good time to have a spare Battery Pack ready to go. Recharge the Battery Pack for up to 75 minutes or until fully charged and
remove it from the Charger.
•
A good time to consider purchasing a replacement Battery Pack is when it loses its power quickly.
Battery LED Lights
Check the charge percentage of your 62V Battery by pushing the Indicator
Button on the front of the Battery (Figure 9). The number of Green LED
indicators will tell you the % of power left in the battery. 1-25%, 2-50%, 3-75%
and 4-100%.
If you press the Indicator Button and only the fourth LED flashes, the Battery
needs charging.
Charger indicator Lights
Red LED Lit, green LED is not lit; The Charger is plugged in but the battery is
not installed (no load condition).
Green LED blinks, red LED is not lit; Battery is charging normally.
The green LED is on, red LED is not lit; Battery is fully charged.
Green LED is not lit, red LED blinks; There is a fault with the battery or charger.
Remove the Battery from the charger and wait about 30 minutes, then reinsert
the Battery into the Charger.
•
If the Battery does not hold its charge for very long under normal conditions
or it simply won't hold a charge, then replace it. You can purchase a
replacement Battery directly from us at www.DRpower.com.
®
PRO-62V BLOWER
®
62V Battery Packs. Do not try to use the DR
®
products.
(Figure 10)
®
62V Charger with Battery Packs from other
Indicator
Button
Figure 9
Green
LED
Figure 10
CONTACT US AT www.DRpower.com
Battery
Red
LED
Charger
13
