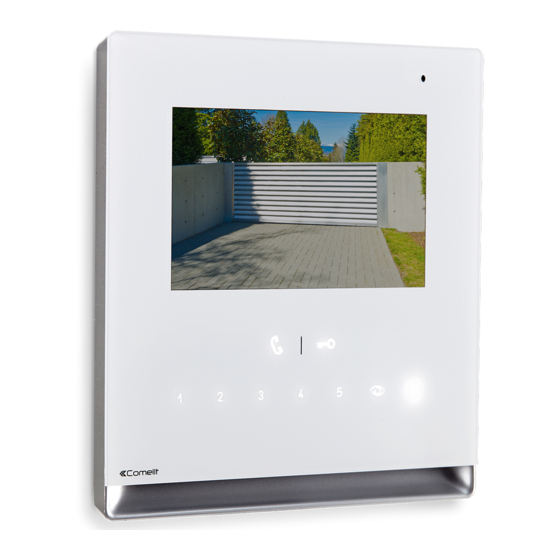
Comelit Icona 6601W/BM Manuale tecnico - Pagina 12
Sfoglia online o scarica il pdf Manuale tecnico per Monitor Comelit Icona 6601W/BM. Comelit Icona 6601W/BM 17. 2-wire door entry monitor
Anche per Comelit Icona 6601W/BM: Manuale tecnico (20 pagine), Manuale d'uso (7 pagine), Manuale d'uso (18 pagine)

Intercom call to selective address: button programming
1. The steps illustrated in paragraph "Assigning a selective address" should be carried out on the devices involved in the
intercom call.
2. Take note of the S1 DIP-switch settings.
3. To enter programming mode, set S2 DIP-switch 6 to ON.
» the LED
flashes
4. Refer to the table
"Basic configuration"
INTb) corresponding to the button you want to program appears, then set the S2 DIP-switches.
5. Use the S1 DIP-switches to set the selective address of the device you wish to call. Table B.
For group calls, simultaneously set the desired selective addresses (max. 3) to ON.
6. Press and release the button to be associated with the function.
» Correct procedure indication: the LED
√ when programming using several buttons, continue programming the next key by repeating the process from step 5
onwards.
7. Exit programming mode by setting S2 DIP-switch 6 to OFF.
» LED
switches off
8. Set S2 DIP-switches 1-2-3-4 to ON.
9. Return S1 DIP-switches to the original combination.
Selective intercom address
Code
S1 DIP-switch ON
1
1
2
2
3
3
Assigning selective address
(Steps only need to be carried out for "Intercom call to selective address" programming)
1.
Take note of the
S1: Set an address.
S1, S2 settings and
(Table B)
restore them when
Example 3:
programming is
S1
complete.
Assign one of the 8 addresses available in TABLE B to each device involved in the intercom call.
•
You can assign the same selective intercom address to a maximum of 3 devices.
Deleting the selective address of the door entry monitor
1.
Take note of the
S1, S2 settings and
restore them when
programming is
complete.
12
to identify a DIP-switch combination in which the intercom function (INT or
flashes for a few seconds and a confirmation tone sounds.
Code
4
5
6
2.
3.
S2: Set the DIP-switches
as shown in the figure.
S2
2.
Set the DIP-switches as shown in the figure.
S2
S1
TABLE B
S1 DIP-switch ON
4
5
6
4.
3.
S2
S2
Code
S1 DIP-switch ON
7
7
8
8
OK prog:
OK prog:
KO prog:
KO prog:
OK prog:
OK prog:
KO prog:
KO prog:
x4
x4
x10
x10
x4
x4
x10
x10
