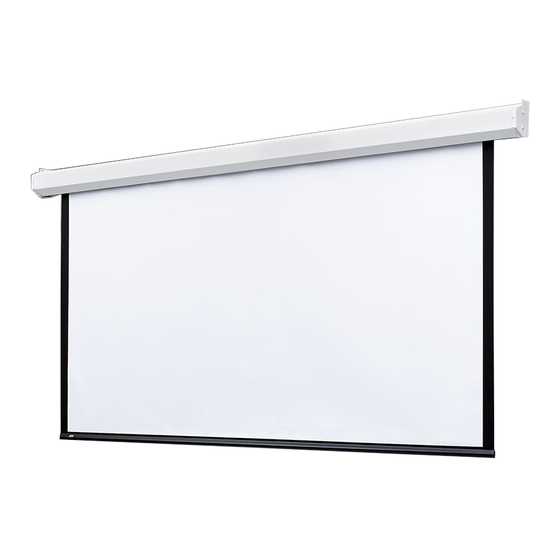
Draper Targa 220V Istruzioni per l'installazione e il funzionamento - Pagina 2
Sfoglia online o scarica il pdf Istruzioni per l'installazione e il funzionamento per Schermo di proiezione Draper Targa 220V. Draper Targa 220V 2. Electric

Targa 220v Instructions
Wall Mounted
Appropriate hardware
provided by installer.
Suspended
Appropriate hardware
provided by installer.
If you encounter any difficulties installing or servicing your Targa screen,
call your dealer or Draper, Inc. Spiceland, Indiana, U.S.A., 765/987-7999,
fax 765/987-1689, or e-mail to [email protected].
Case Dimensions/Installation Diagrams
59mm
150mm
Single Station Control
CE Approved
Terminal strip in
junction box at left
end of screen
Control
switch
Dashed wiring
by electrician
Low Voltage (& Wireless) Control Wiring Diagram
Control
switches
24 VDC
Black (Dn)
Red (Up)
White (Com)
Black (Dn)
Red (Up)
White (Com)
Dashed wiring
by electrician
134mm
Fabric width + 192mm
22mm dia.
electrical
96mm
connection
hole
220v Wiring Diagrams
Multiple Station Control
230V,
PE
50 Hz.
CE Approved
Low Voltage
Control Module
Black
Red
Red
White
Brown
White
Black
Yellow
Green
Optional infrared
receiver package
Optional
radio receiver
package
Page 2 of 2
Viewing
surface
Not CE Approved
Terminal strip in
junction box at left
end of screen
Cap off with wire
nut & tape
Red
Blue
Black
Red
Blue
Black
Red
Blue
Black
Dashed wiring
by electrician
230 V, 50 Hz.
Terminal strip in
junction box at left
end of screen
All-Pole Disconnect
by Others
230 V, 50 Hz.
