Forms+Surfaces CROSS TABLE Istruzioni per l'installazione
Sfoglia online o scarica il pdf Istruzioni per l'installazione per Arredamento per interni Forms+Surfaces CROSS TABLE. Forms+Surfaces CROSS TABLE 2.
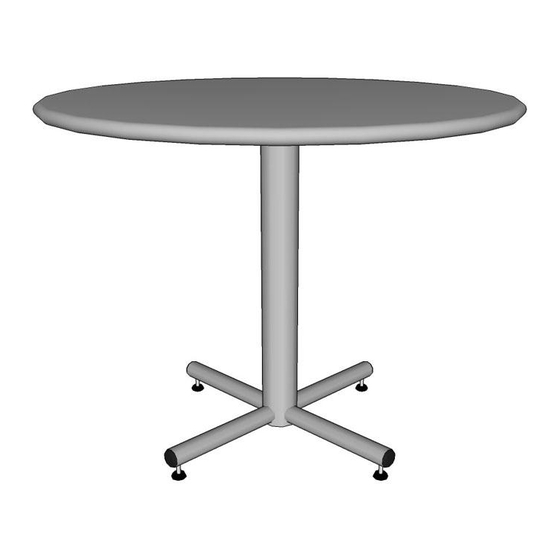
CROSS TABLE
MATERIALS INCLUDED
a
b
7/32" hex bit for
tamper-resistant
screws
STEP BY STEP
FOR ALL SURFACE MOUNTED CROSS TABLES
a
Attach table top to column
• Use drill with 1/2" nut driver (or socket
wrench with 1/2" socket) to attach table
top to column with 5/16"-18 x 3/4"
hex head bolts (a).
T 800.451.0410 | www.forms-surfaces.com
© 2012 Forms+Surfaces® | All dimensions are nominal. Specifications and pricing subject to change without notice. For the most current version of this document, please refer to our website at www.forms-surfaces.com.
TOOLS NEEDED
c
d
pencil
e
f
3/16", 3/8" & 1/2" drill
bits for concrete
Mark hole locations
• Place table in desired location. Mark
center of each hole location with a pencil.
SURFACE MOUNT INSTALLATION INSTRUCTIONS
1/2" nut driver
hammer drill
Drill holes
• Use hammer drill to drill 1-7/8" deep x
1/2" diameter anchor hole at each
marked location using a 1/2" drill bit
suitable for concrete drilling.
NOTE: Forms+Surfaces recommends
starting holes with 3/16" diameter drill
bit followed by 3/8" and finally 1/2" for
maximum accuracy.
steel
wire brush
1/4" punch
hammer
page 1 of 2 | Rev. 12-18-12