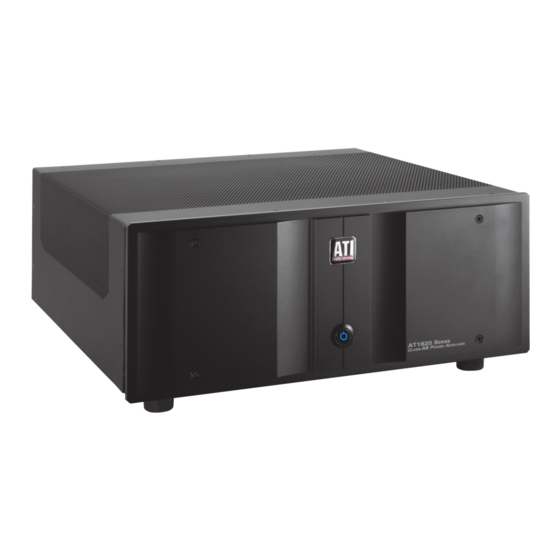
ATI Technologies AT1827 Manuale d'uso - Pagina 8
Sfoglia online o scarica il pdf Manuale d'uso per Amplificatore ATI Technologies AT1827. ATI Technologies AT1827 14.

may vary from this configuration. To assure proper phase
connections, and optimal performance, consult the identifi-
cation plate on your speaker terminals, or the speaker's
manual to verify polarity. If you do not know the polarity of
your speaker, consult the speaker's manufacturer for further
information.
Power Control Connections
Your amplifier features a built-in remote turn-on sys-
tem that will automatically switch the amplifier on
when another device in the system is switched on.
Remote Turn-On Using Products
Equipped With a Low Voltage Trigger Jack
Press the front panel power switch on the amplifier so
that it is in the ON position. Then, using an accessory
cable with a 3.5mm mono mini-plug on each end, con-
nect the trigger-output jack on the rear of the source
device to the trigger input jack on the back panel of the
amplifier. When these connections are made, the ampli-
fier will automatically turn on and off with the trigger-
ing device. The trigger is compatible with a 3 - 24 VDC
steady state signal.
Remote Turn-On
Using External AC to DC Power Converter
If your source device does not have a dedicated trigger
jack, it is still possible to activate the unit for automatic
turn on when a Switched Outlet is available on the rear
of the source device. To control the amplifier in this
fashion, you will need a small AC to DC power con-
verter, capable of delivering a 3.3 to 24 volt DC signal.
The DC voltage should terminate in a standard 3.5mm
type mini plug. This type of converter may be obtained
as a Power Adapter from many electronics retailers.
When installing, press the Main Power Switch on the
front panel of the amplifier in so that it is in the ON
position. Plug the AC adapter into a switched outlet on
the source device that will be activated when you wish
to have the amplifier turn on. This may be the switched
outlet at the rear of an AC receiver or other audio
equipment. Connect the 3.5mm mini-plug from the
adapter to the trigger-input jack on the back panel of
the amplifier. The amplifier will now turn on and off
automatically, based on the status of the controlling
device.
Power Connection
Once all audio and system connections have been
made, connect the supplied power cord to the amplifier
first, and then connect it to an AC power source. Please
make certain that the amplifier is turned off and that the
device connected to the remote trigger input is off
when connecting the power cord and plugging it into an
AC outlet.
When the power cord is plugged into the wall outlet,
AT1820 Manual
and the main power switch / circuit breaker is in the on
position, the amplifier is in the standby mode and
draws less than 1 watt from the wall outlet.
CAUTION: Do not plug the amplifier directly into the
"Switched Accessory" outlet of another device! These outlets
are intended for use with low current draw products having
a low current draw, such as tuners, CD players or cassette
decks. These cannot handle the high current draw of a power
amplifier. Using these outlets for a power amplifier is a sig-
nificant safety hazard.
NOTE: It is not recommended that you connect other power
amplifiers, or products with a high current draw, to the same
AC power circuit as the amplifier. If this is unavoidable, the
Ultra-Soft-Start circuitry of your amp will prevent excessive-
ly high inrush current.
Amplifier Operation
Before turning on the AT1820, ensure that all precau-
tions and warnings have been carefully reviewed and
adhered to. Damage to the amplifier caused by improp-
er operation, wiring and/or ventilation will not be cov-
ered under warranty and ATI will not be liable for any
consequential damage or loss.
After all connections have been made you are ready for
operation. First, turn on the source components and
processor in your system. It is always a good idea to
turn on your amplifier LAST. This avoids the possibil-
ity of any turn on pops or transients from other equip-
ment being amplified and sent to your speakers where
they may cause damage. Always start with a low vol-
ume level on your controller or preamp to avoid dam-
age to your speakers.
Manual On
Simply press the front panel power switch. The switch
will dimly light up during the soft-start sequence. There
will be a couple clicks from the chassis, this is normal.
These are relays activating to pass AC to the large pow-
er transformers. After the turn-on process is complete,
the front panel switch will illuminate fully. During the
soft-start sequence audio will pass through the amplifi-
er modules, but full power will not be available. To
turn the unit off, press the Power button again.
NOTE: We recommend not playing audio during the
turn-on soft-start sequence.
Automatic On
Make certain that the connection to the controlling de-
vice is correct. Whenever the controlling device is
turned on, the amplifier will automatically turn on. You
may also hear a relay click as during start up. This is
also normal.
To turn off your amplifier, simply turn off the device
feeding the amplifier it's trigger signal. The amplifier
7
Rev-05/21
