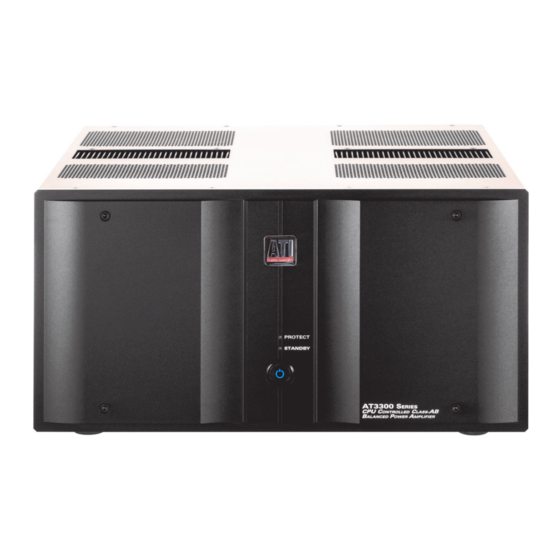
ATI Technologies AT3303 Manuale d'uso - Pagina 6
Sfoglia online o scarica il pdf Manuale d'uso per Amplificatore ATI Technologies AT3303. ATI Technologies AT3303 15. Class ab 2 to 8-channel power amplifier

Rear Panel Layout
Above shows channel section 1-4. Channel section 5-8 is a
mirror image. See Appendix F for complete view.
F
Amplifier Channel To Speaker Map
Source Channel
Amplifier Channel
CHANNEL 1
CHANNEL 2
CHANNEL 3
CHANNEL 4
AT3300 Manual
A. Balanced (XLR) Audio Inputs
Connect the XLR outputs of the preamplifier or other source
A
device via balanced XLR cables to the BALANCED INPUT
jacks on the amplifier. The XLR jack is wired Pin 1 - Ground,
B
Pin 2 - Hot, and Pin 3 - Cold.
B. Unbalanced (RCA) Audio Inputs
C
Connect the RCA outputs of the preamplifier or other source
D
device via unbalanced RCA cables to the UNBALANCED
INPUT jacks on the amplifier.
C. Input Selector Switches
Selects either the BALANCED INPUT (XLR) or the UN-
BALANCED INPUT (RCA) jack. Each channel has a switch,
so you can mix inputs depending on your equipment.
E
D. Channel Name Label
ATI provides labels that use standard speaker location names
to mark the amp and wires to make installation and debugging
easier.
E. Speaker Outputs
Use the 5-way binding posts to connect the amplifier to your
speakers. The posts with the red accents are positive. The
posts with the black accents are negative.
F. Chassis Ground Terminal
Use to connect to other chassis where necessary.
G. Remote Trigger Input
Use the TRIGGER INPUT jack to connect to a compatible
preamplifier, source device, or other product with a 3.3-24
VDC output.
H. Circuit Breakers / Mains Power Switches
G
These switches are also the over-current protection for the
chassis. These operate like the circuit breakers in your houses
electrical distribution box.
H
I.
The AT3300 amps include 1 or 2 IEC 60320 C20 inlets, de-
pending on channel count. Use the included power cords to
I
connect your amplifier to an AC power source.
J.
Calls out AC voltage and frequency, circuit breaker trip cur-
rent and power consumption. For a 120VAC configured am-
J
plifier, a green dot will be marked in the upper box. For a
240VAC configured amplifier, an orange dot will be marked
in the lower box.
Speaker Location
Source Channel
5
AC Inlets
Power Configuration Marking
Amplifier Channel
CHANNEL 5
CHANNEL 6
CHANNEL 7
CHANNEL 8
Speaker Location
Rev-11/21
