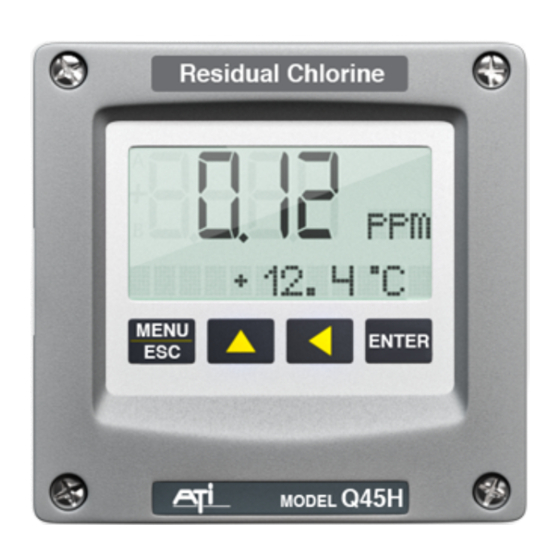
ATI Technologies Q45H/62 Manuale - Pagina 7
Sfoglia online o scarica il pdf Manuale per Strumenti di misura ATI Technologies Q45H/62. ATI Technologies Q45H/62 11. Free chlorine measurement system

Analytical Technology Unit 1 & 2 Gatehead business PK, OL3 5DE
Phone +44 145 783 2800
Fax +44 145 783 9500
4
ENTER
5
Wait until display reads
Adjust Cl2 value using left arrow to
6
select digit and to ∆ adjust
7
Press ENTER
Using the colorimeter or Palin test v calibration of the ATi chlorine monitor
Dpd test kits should be used with a level of 'flexibility' when comparing with continuous chlorine monitors.
Error with the dpd tests are +/- 0.1ppm. This means that if you read 0.2ppm on a dpd test kit, it could be 0.3
or 0.1ppm. Please do not change the ATi monitor if the difference is +/- 0.1ppm unless you take 3 tests and
average them out. Even then, if you see large differences between the 3 results, make a decision on whether to
change the reading or leave it be. See Palin test chart at end of this handout.
Helpful tips!
Stablization by using the raw signal (nA signal found in MEASURE menu)
Before you calibrate a brand new system, you have to wait for polarization. This can only occur with power going to
the sensor. The sensor has to be in water to prevent the membrane 'drying out'. Using chlorinated water (either in
the flow cell or in a beaker) will speed up polarization. You will know when the sensor is polarized when the nA
figure (in measure) stabilizes. Once this happens (could take > 6 hours unless you use a ready made sensor on a
polorizer) take a dpd test and calibrate. 1ppm is roughly 150nA (with a 100% slope). Premature calibration will lead
to an incorrect calibration and an in-accurate slope that will lead to future problems. A de-polorized sensor will give
-26nA. As it polorizes, it will start to increase.
Outputs and Relays (set up in CONFIGURATION and program in CONTROL menu)
There are 2 x 4-20mA outputs and 2 x relays (can be configured for alarm, control or fail). Initial set up in
CONFIGURATION and then program in CONTROL menu. The ribbon cable holds the outputs and relays. If you
lose these, it will be because the ribbon cable has come loose. The fix is to power down the unit, disconnect the
ribbon cable, re-connect the ribbon cable and power up. You will then get these back!
DO NOT WIPE OR CLEAN THE MEMBRANE! Even with gunk and/or manganese on the sensor
The sensitivity slope of the membrane will change only when you perform a calibration. The slope can be anywhere
between 25 and 600%. If you calibrate up the slope comes down and vica versa. By wiping the sensor end, you are
in theory, cancelling out previous calibrations. Leave the sensor until the unit fails a calibration (slope too high or
slope too low).
Clean the pH probe bulb with white vinegar to make it sparkle!
If the pH sensor is dirty and is out of calibration. Prior to calibrating wipe with a tough tissue and white vinegar.
If the flow or power stops for a number of hours/days, what to check?
If the flow or power has stopped for > 2 days, simply turn it back on and wait 15 minutes. Check for stabilization of
the raw signal (nA in MEASURE as above) It will more than likely go to the correct figure, however, please check
calibration. If the water or power has been off for 2+ days, best to rebuild sensor and then re-calibrate after
stabilization.
pH calibration is different to that of my portable? Why?
Initial calibration of the pH probe (if used) is done by using pH buffers (usually 4 & 7) but can be anything you
want. Make sure the buffer is in date and not open and old. An incorrect pH buffer will lead to problems with the pH
and may also create problems with chlorine if correction is turned on.
After initial 2 point pH calibration, you should not need to do this again. However, a 1 point calibration will be
required to maintain correct pH readings. The 1 point pH cal should be completed after an hour of the 2 point cal to
Q45H Training Handout 4.05
Wait, X.XXX ppm
Adjust value
PASS, slp = XXX%
Page 6 of 11
ref
"Wait" flashes
If the "wait" does not stop flashing
press ENTER
After around 5 seconds display goes
back to main display
