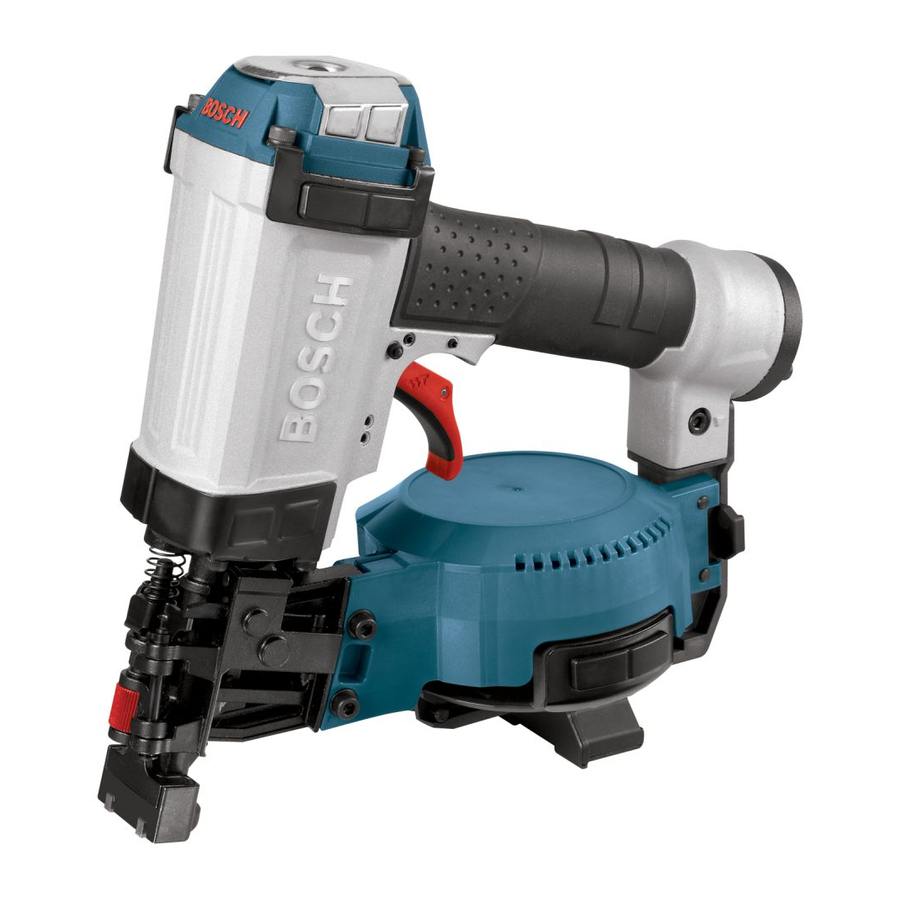
Bosch RN175 Manuale di istruzioni per l'uso e la sicurezza - Pagina 10
Sfoglia online o scarica il pdf Manuale di istruzioni per l'uso e la sicurezza per Utensile elettrico Bosch RN175. Bosch RN175 43.

BM 2610957383 06-09:BM RN175 03-09 6/22/09 8:01 AM Page 10
This tool is equipped with a "Bump" Fire trigger (Red), and a
"Sequential" Fire Trigger (Grey) is provided with your tool.
Select the correct actuation mode for your application and
experience, see "Trigger Removal" and "Trigger installation"
to remove and install trigger.
"Bump" Firing Mode:
To use the tool to drive nails in this actuation mode, a
"Bump" Fire Trigger (Red) must be installed. The work
contact element and trigger can be actuated in any order.
1. Pull and hold the trigger with the tool off the work piece.
2. Press the work contact element against the work piece. A
nail will be driven, figure 9.
3. The tool must be allowed to recoil away from the work
piece.
The tool must be allowed to recoil away
W RNING
from the work piece. Do not drive a nail
on top of another nail. If the tool is not moved before the
trigger is pulled again a second nail will be driven on top of
the previously driven nail. This could cause the nail to be
deflected or the tool to react in an unexpected manner.
4. Move the tool along the work piece with a bouncing
motion. Each time the work contact element is depressed
a nail will be driven, figure 9.
5. As soon as the desired number of nails has been driven,
remove finger from trigger.
Remove finger from the trigger when not
W RNING
driving nails. Always carry the tool by the
handle only. Removing your finger from the trigger when
not operating the tool reduces the risk of unintentionally
firing a nail and injuring yourself or someone else.
"Sequential" Firing Mode:
To use the tool to drive nails in this actuation mode only, a
"Sequential" Fire Trigger (Grey) must be installed. The work
contact element and trigger must be used in a specific
order:
1. The work contact element must be completely depressed
by placing the nose of the tool against the work piece,
figure 10.
2. The trigger must be pulled firmly and then released,
figure 10.
3. The tool must be allowed to recoil away from the work
piece.
To continue operation in a separate location, move the tool
along the work piece, repeating steps 1 through 3 as
required.
Firing Modes
Operation
FIG. 9
FIG. 10
10
