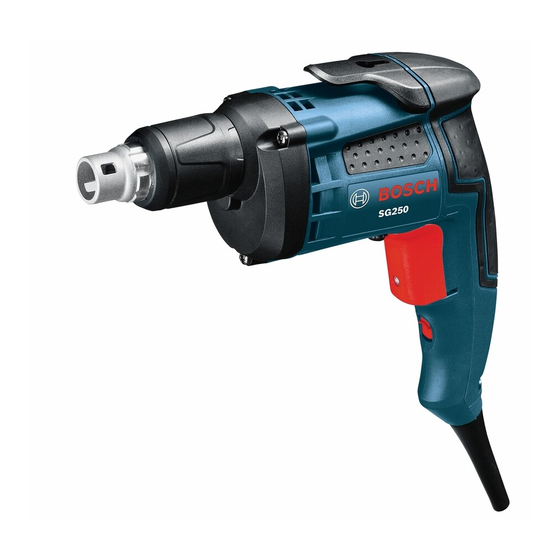
Bosch SG450AF Manuale di istruzioni per l'uso e la sicurezza - Pagina 10
Sfoglia online o scarica il pdf Manuale di istruzioni per l'uso e la sicurezza per Utensile elettrico Bosch SG450AF. Bosch SG450AF 33.
Anche per Bosch SG450AF: Manuale di istruzioni per l'uso e la sicurezza (32 pagine)

BM 2610023125 02-12:BM 2610023125 02-12.qxp 2/8/12 2:21 PM Page 10
AUTO-FEED ATTACHMENT
Never place any part of your
WARNING
body in a pinch point area.
When operating auto-feed attachment consider
where your hand is located. If it is within a pinch
point, strongly consider an alternative position.
Injuries occur when hands or fingers are
between moving and stationary parts during the
pinching movement.
ADjUSTING FOR SCREW LENGTH
1. The auto-feed attachment must be adjusted
to match length of screw being used.
2. Depress adjustment button on side of auto-
feed attachment (Fig. 3).
3. Slide self-feed mechanism forward or
backwards to align arrow on the sliding
portion aligns with the corresponding length
printed onto the auto-feed attachment (Fig. 3).
4. Allow depressed pin to snap back into place
by means of spring force.
DEPTH ADjUSTMENT
Your driver will continue to drive as long as
enough pressure is applied to the bit to keep
the clutch engaged. The auto-feed attachment
is capable of preventing further pressure on the
bit. Driving then stops regardless of the
pressure continued by the operator.
1. Turn the thumbwheel on the auto-feed
attachment downward to increase the depth
the screw will be driven (Fig. 4).
1. Support the tool so that steady, even
pressure is applied to the screwdriving bit.
Operate the trigger switch by depressing with
one or two fingers.
2. Lock the tool on for continuous operation.
The bit will not rotate until the clutch is
engaged.
3. Place a drywall screw on the bit. The
magnetic bit holder will hold any steel drywall
screw without any additional assistance.
4. Press the screw point against the drywall
with steady even pressure. At this point, the
clutch will engage, driving the screw to the
pre-set depth. Once the screw bottoms out,
a ratcheting sound will be heard for a
second.
SG450AF Operating Instructions
Tool Tips
-10-
2. Turn the thumbwheel on the auto-feed
attachment upward to decrease the depth
the screw will be driven.
3. The selected depth is indicated symbolically
on the scale next to the thumbwheel (Fig. 4).
DRIVING SCREWS
Always work at a right angle to the work piece
to ensure the Auto-Feed mechanism is able to
operate properly. Failure to do so may cause
the Auto-Feed mechanism to jam or slip off the
screw head.
1. Depress trigger switch to engage the tool.
2. Set the work contact element on the auto-
feed attachment on the spot where the screw
is to be driven.
3. Apply uniform pressure to the tool in the
direction of the workpiece until the screw is
driven in.
4. By releasing pressure and disengaging tool
from driven screw, the next screw is loaded
Screws already driven cannot be removed or
retightened with the auto-feed attachment. To
remove or tighten screw, remove auto-feed
attachment and use tool without the
attachment.
CAPACITIES
Model
Nominal Capacity
SG450AF Collated screws 1 in. to 2-1/8 in. in
Flength, 3/8 in. max head diameter
and 3/16 in. max shank diameter.
5. When properly set, the screw head should
pull into the drywall paper without cracking or
tearing the paper, then release slightly below
flush with the drywall board. In this manner,
minimum work is left when spackling screw
heads and taping the seams.
6. If it becomes necessary to remove a screw,
either adjust the nose piece to expose the bit
tip or remove the nose piece to expose the
bit tip , reverse the direction of rotation (when
the motor is in the "OFF" position.) Place the
bit tip into the screw, switch tool "ON" and
apply pressure to engage the clutch and
remove screw. When finished, press the
nose piece back into place or re-adjust the
depth. Set lever back to forward while the
trigger switch is in the "OFF" position.
