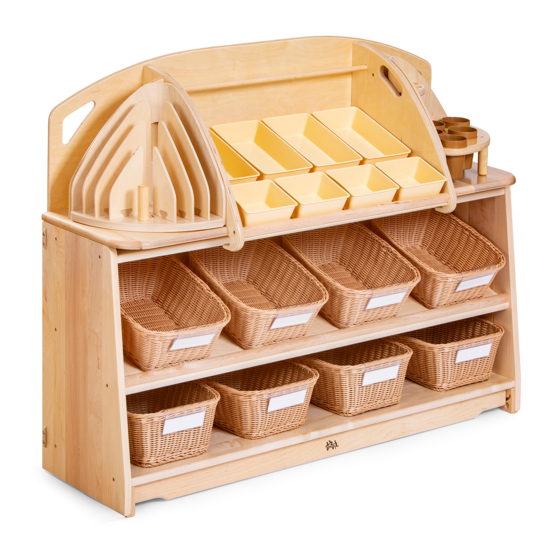
Community Playthings Craft Counter Top 3 H553 Manuale del prodotto - Pagina 2
Sfoglia online o scarica il pdf Manuale del prodotto per Set da gioco e attrezzature per parchi giochi Community Playthings Craft Counter Top 3 H553. Community Playthings Craft Counter Top 3 H553 2.

product
Guide
User and
Maintenance
Information
(cont'd)
Customer serviCe:
United States
PO Box 2
Ulster Park, NY 12487
Office hours: 9-5 EST
Phone (800) 777-4244
Fax (800) 336-5948
(845) 572-3468
www.CommunityPlaythings.com
© 2010 Community Products LLC
QG69 DC 6229 Revision A
Figure A
assembly
To attach Craft Counter Tops to Craft Shelves
(requires 2 people, see Figure A):
1. Line up the counter above the shelf.
2. Lower the counter down until the back of the
shelf is behind the back of the counter.
To attach Craft Counter Tops to Roomscapes
(requires 2 people, see Figure B):
1. Hook the front of the counter over the front
edge of the Roomscapes Unit.
2. Rotate the counter down over the back of the
Roomscapes Unit.
The Paper Corner and the Tool Corner locate on
"bumps" on the Craft Counter Top. Do not locate
Paper Corner and Tool Corner until Craft Counter
Top is properly in place.
CauTion
c Only rearrange items when Craft Counter Top
is empty. Use handholds provided. Do not rear-
range units with children nearby.
c Lift with 2 people where necessary.
c Do not attach Craft Counter Tops to 40" high
Roomscapes furniture.
c Only attach Craft Counter Tops to Roomscapes
furniture that is the same length.
c Craft Counter Tops are not intended to be used
on a table.
Connection to Roomscapes items
Craft Shelves can be connected to Roomscapes
posts, panels, and furniture. The posts attach to the
plastic couplings that are on the sides of the units.
For more information on Roomscapes connecting
system, see the Roomscapes Product Guide F601
supplied by Community Playthings with every Room-
scapes order.
mobility
It is important to understand how to operate the
mobility feature, which can be easily engaged, and
disengaged using the following procedure:
1. With one person at each end of the unit, tip
slightly forward or back, allowing the toe trim
to pivot.
2. One person keeps the item tipped, while the
other rotates the toe trim to the desired position
by pulling or pushing on one of the handholds at
each end of the toe trim. (Figure C)
Figure B
3. Tip the unit slightly to the other side and repeat
the procedure with the other toe trim.
CauTion
c Never change the position of the toe trim with
less than two people.
c Always use the handholds provided at each end
of the toe trim. (Figure C)
c After disengaging the wheels, give item a small
sideways push to settle the wheels into place.
You will notice the item sitting down securely on
its glides.
c Never adjust mobility with children near by.
Figure C
