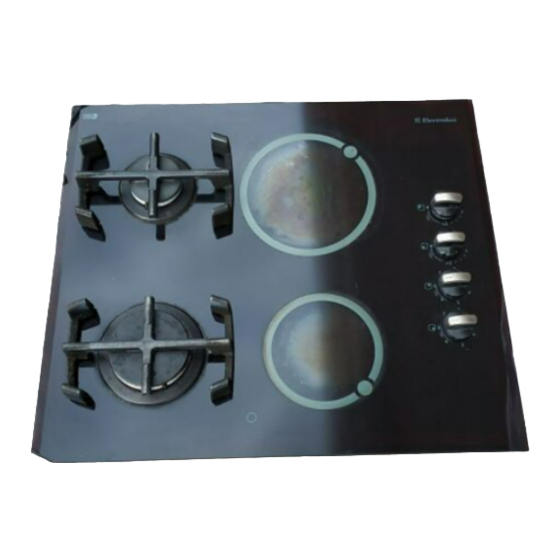
Electrolux EGM 626 Libretto di istruzioni - Pagina 7
Sfoglia online o scarica il pdf Libretto di istruzioni per Piano cottura Electrolux EGM 626. Electrolux EGM 626 11. Gas hobs

Technical Data
Gas Burners Rating
Rapid Burner
2,9 kW (G20) - 2,7 kW (G30/G31)
Semirapid Burner
Auxiliary Burner
Appliance Class
Category
Setting
Natural Gas
Gas connection
Instruction for the Installer
The following instructions about installation and
maintenance must be carried out by qualified
personnel in compliance with the regulation in
force.
The side walls of the unit in which the hob is
going to be installed, must not exceed the height
of the working top.
Avoid installing the appliance in the proximity of
inflammable materials (e.g. curtains, tea towels
etc.).
The appliance must be electrically disconnected
before all interventions. If any electric supply to
the appliance is required to carry out the work,
ensure all the necessary precautions are followed.
THE MANUFACTURER WILL NOT ACCEPT
LIABILITY, SHOULD ANY OF THE OTHER SAFETY
INSTRUCTIONS INCORPORATED IN THIS BOOK
OR THE REGULATION IN FORCE BE IGNORED.
FO 0264
1,9 kW
1,0 kW
G20 - 20 mbar
A) Ramp with ending nut
B) Seal
C) Adjustable connection
Fig. 4
Electric hotplate
(Mod. EGM 636)
(Mod. EGM 626)
3
Electric Supply
II2H3+
230 V 50 Hz
Hob recess dimensions
Length
G 1/2"
Width
Gas connection
Choose fixed connections or use a flexible pipe in
stainless steel in compliance with the regulation in force.
If using flexible metallic pipes, be careful they do not
come in contact with mobile parts or they are not
squeezed. Use the same attention when the hob is
combinated with an oven.
IMPORTANT - To ensure a correct operation, a saving
of energy and the long-life of the appliance, the voltage
pressure of the appliance must correspond to the
recommended values.
The adjustable connection is fixed to the comprehensive
ramp by means of a threaded nut G 1/2". Interpose the
sealing between the components as shown in Fig. 4.
Screw the parts without forcing, adjust the connection in
the required direction and tighten everything.
IMPORTANT - When the final connection has
been made, it is essential that a thorough leak
test is carried out on the hob and installation.
Use some soapy water, never a flame.
Ø 180 mm.
1,8 kW
Ø 180 mm.
1,8 kW
Ø 145 mm.
1,2 kW
550 mm
470 mm
7
