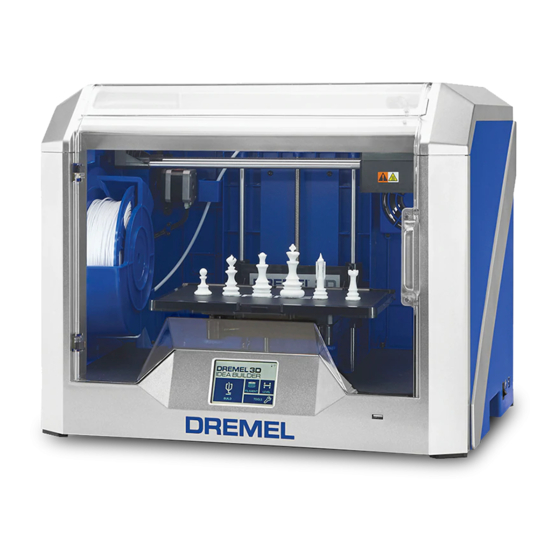
Dremel 3D40 Idea Builder Manuale - Pagina 4
Sfoglia online o scarica il pdf Manuale per Stampanti 3D Dremel 3D40 Idea Builder. Dremel 3D40 Idea Builder 4. Clogged heatsink tube replacement
Anche per Dremel 3D40 Idea Builder: Manuale di avvio rapido (2 pagine), Istruzioni (5 pagine), Istruzioni di servizio (2 pagine)

Step 5: Insert New Nozzle Assembly
a. Route the heater and the thermocouple wires through
the passage in the chassis as shown in the picture
under Step 4e (see encircled).
b. Plug in the white thermocouple connector in the ex-
truder circuit board. Refer picture under Step 4d.
c. Bend the white heater wires, insert in the terminal block
and tighten the flathead screws as shown in picture
below. Gently pull the wires to check if the wires are se-
curely held in place.
d. Push the nozzle assembly in the extruder chassis hole
such that the heater block is in the left hand side as
shown in the picture. Lineup the air baffle assembly with
extruder chassis, with the hole towards the user (front)
as shown in the picture below.
e. Insert the fan baffle assembly and match the screw
holes with the holes on the chassis. Screw the 2 Torx
screws to tighten the fan baffle assembly. Refer picture
under Step 4b.
f. Tighten the nozzle assembly screw with 2mm Hex
wrench as shown in the picture under Step 4a.
2610038113
Congratulations!
You are now ready to build. Build On.
Step 6: Replace Extruder Motor
a. Place the extruder motor on the chassis. Extruder motor
screw holes should line up with holes in the chassis.
b. Tighten the two hex screws with 2.5mm Hex wrench.
Refer picture under Step 3b.
c. Plug in the white terminal block on the extruder connec-
tor as shown in picture under Step 3a (encircled).
Step 7: Replace Top Cover
a. Attach the filament runout switch wires of the cover to
the extruder circuit board. Refer picture under Step 2d.
b. Place the new top cover over the extruder.
c. Replace the two 2mm screws onto the cover. Refer pic-
ture under Step 2c.
Step 8: Test the Machine
•
Plug in and turn on the 3D40.
•
Navigate to "Filament" and follow the on screen instruc-
tions to load filament.
•
Build the "Test Print" file on the machine to ensure the
3D40 printer is working correctly.
08/16
