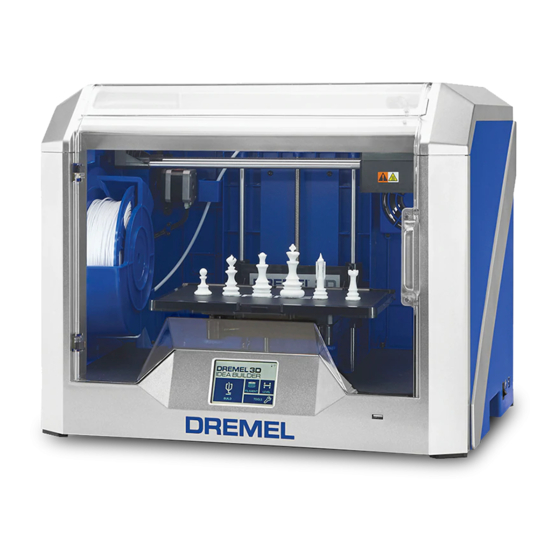
Dremel 3D40 Idea Builder Istruzioni di servizio - Pagina 2
Sfoglia online o scarica il pdf Istruzioni di servizio per Stampanti 3D Dremel 3D40 Idea Builder. Dremel 3D40 Idea Builder 2. Clogged heatsink tube replacement
Anche per Dremel 3D40 Idea Builder: Manuale di avvio rapido (2 pagine), Istruzioni (5 pagine), Manuale (4 pagine)

Step 2: Bring printer to safe state for service
a. If Step 1 was performed, allow the nozzle to cool until the thermometer icon reads cool (blue).
b. Turn off and unplug the printer.
Step 3: Remove top cover of extruder
a. Unscrew the two screws on the top of the filament guide bracket.
b. Remove the top cover.
c. If the filament runout switch terminal (encircled) was already disconnected, reconnect it to the circuit board, replace
the top cover and skip to step 6. This disconnection may have been the source of the issue
Step 4: Install new top cover of extruder
a. Attach the filament runout switch terminal of the new cover to the extruder circuit board.
b. Place the new top cover over the extruder.
c. Replace the two 2mm screws onto the cover.
Step 5: Load a filament
a. Plug in and turn on the printer.
b. Load a filament onto the spool.
c. Load the filament onto the extruder by pressing the filament button on the screen.
Step 6: Test the replacement
a. Plug in and turn on the 3D40.
b. Build the "Test Print" file on the machine to ensure the 3D40 printer is working properly.
c. After 5 minutes of print time, pause the print and cut the filament as shown in Step 1. Press play to continue. The printer
should automatically pause within a few minutes and show a "Filament Runout" Error. This confirms that the runout switch
is working as intended.
d. User can use the Filament Change option to load the filament again and build the rest of the print.
.
