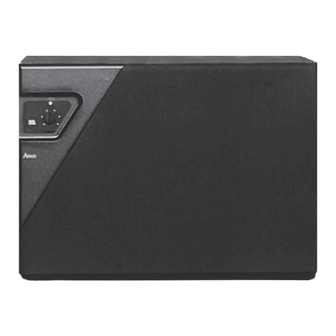
Atlantic Technology 352 PBM THX Manuale di istruzioni - Pagina 12
Sfoglia online o scarica il pdf Manuale di istruzioni per Subwoofer Atlantic Technology 352 PBM THX. Atlantic Technology 352 PBM THX 16. High performance subwoofer systems

Models 222 PBM, 262 PBM and 352 PBM THX
Voltage Selection
The Atlantic Technology series of subwoofers allows operation with either 120 or 240
volts AC 50-60 Hz. Please make sure that the voltage selector switch shows the correct
Figure 4:
The fuse is
located next
to the ISE
AC socket
Insert
screwdriver
tip here
Placement
Moving the subwoofer towards the corner increases bass level, but may emphasize one
frequency predominantly (Figure 5). Moving it away from the wall will reduce the bass
output, but will yield flatter response. You can adjust the level control accordingly to
compensate for room placement.
Home THX Subwoofer Applications: The 352 PBM THX
Two 352 PBM THX subwoofers are required for proper THX operation. A single, larger
subwoofer could have been used effectively, but Atlantic Technology opted for dual subs
from both a performance standpoint, (smoother bass, less room interactions) and
aesthetic standpoint, with smaller cabinets being easier to place in the room.
Important Note: The variable input level control and the low pass crossover control have
no effect when the THX input is used. The correct input level and crossover frequency
have been incorporated into all THX certified processors and receivers. The Atlantic Technology
352 PBM THX Powered Subwoofer meets or exceeds all THX performance specifications.
When two subwoofers are used, whether for Home THX operation, regular Dolby Pro
Logic, or Dolby AC-3, they should be placed asymmetrically; that is, in slightly different
positions on each side of the television (Figure 6). This will help to attenuate room
resonances that are common to symmetrically positioned subwoofers.
voltage for your area before plugging the unit in. The
voltage can be easily changed by moving the switch to
the correct voltage and installing the proper fuse and
power cord. To change the fuse, remove the power
cord, insert a screwdriver tip into the notch in the
side of the fuseholder, and pry it out. Replace with
the correct value fuse and push back into place. The
voltage settings and fuse values are marked adjacent to
the voltage selector.
12
A
tlantic
TECHNOLOGY
