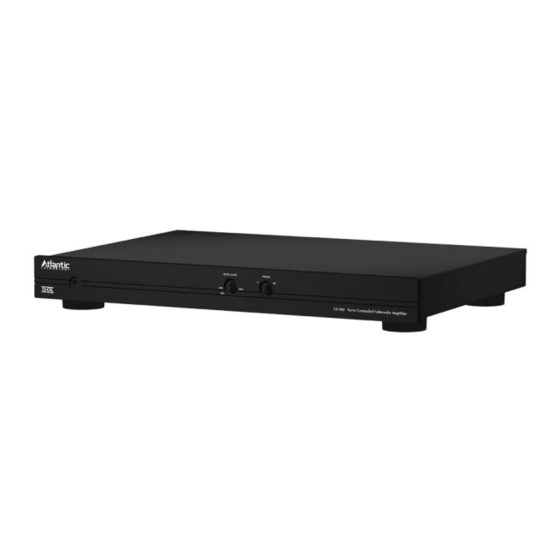
Atlantic Technology SA-380 Manuale di istruzioni - Pagina 10
Sfoglia online o scarica il pdf Manuale di istruzioni per Amplificatore Atlantic Technology SA-380. Atlantic Technology SA-380 12. Inwall subwoofer system thx ultra mono subwoofer amplifier

10
Operation
INPUT
12V TRIGGER
Audio Signal Connections
IN
Connections with RCA type plugs:
When making connections with the "RCA" type plugs
on interconnect cables, make certain to gently, but
firmly insert them into the jack marked Unbalanced
UNBALANCED
Input on the back of the Model SA-380. Loose con-
nections can cause intermittent sound and may damage your speakers.
The barrel assembly of some high quality RCA plugs may be very tight,
and it is important to ensure a proper connection between the intercon-
nect cable and the input jack.
Connections with XLR (Balanced) audio type plugs:
When making connections with "XLR" type
INPUT
plugs on balanced interconnect cables, make
certain to gently, but firmly insert them into
the jacks marked Balanced Input on the back
of the Model SA-380. Loose connections can
cause intermittent sound and may damage
your speakers.
BALANCED
UNBALANCED
When releasing an XLR connector from an
input jack, press the "plate" style tab on the input jack and pull the inter-
connect straight out. When releasing an XLR connector from an output
jack, press the "button" on the XLR connector's body and pull the inter-
connect straight out.
NOTE: Unlike "coaxial" style RCA cables, twisting the XLR connec-
tor will damage the cable and/or input jack on your amplifier.
AC Power Connection
115V 60Hz / 230V 50Hz
AC INPUT 600W MAX
Safety Notes
Due to the current draw of the Model SA-380, DO NOT connect the
■
power cord to the accessory outlet of an audio/video component.
Should the power cord become lost or damaged, be certain to replace
■
it with a cord that meets or exceeds the original specifications. Use
of power cords with insufficient capacity, such as those used with
computers or office equipment, may create a safety hazard.
TRIGGER
MODE
OUT
MUSIC
ON
12V
12V TRIGGER
IN
OUT
The final step in the installation of the
Model SA-380 is to connect the power
cord. First, connect the female end of the
cord into the AC Power Receptacle on the
rear panel. Once the cord as been firmly
connected to the SA-380, insert the plug
end into an AC power outlet.
BASS LEVEL
MIN
REF
OUTPUT
-
+
Operation
Operation of the Model SA-380 is simple. In normal use there are no
controls other than LEVEL and PHASE to adjust once the installation is
complete. After all connections have been made to the amplifier's inputs
and speaker terminals, and the AC power cord has been connected, the
way in which the unit turns on is determined by the setting of the Trig-
ger Mode Switch. Depending on the setting, as described on page 7, the
amplifier will turn on in one of these three ways:
When the Trigger Mode Switch is set to the left, in the "On" position,
■
the Model SA-380 will turn on when the AC Power Switch is turned
on. Use the AC Power Switch to turn the Model SA-380 off when
you're finished listening.
TRIGGER
+
When the Trigger Mode Switch is set in the center, in the "Music"
MODE
■
position, the AC Power Switch should be turned ON to place the
MUSIC
ON
12V
Model SA-380 in the Standby Mode. The unit will automatically turn
on whenever an audio signal is present. The unit will return to the
Standby mode a few minutes after the audio signal is removed.
When the Trigger Mode Switch is set to the right, in the "12V" posi-
■
tion, the AC Power Switch should be turned ON to place the Model
SA-380 in the Standby Mode. The unit will automatically turn on
when a low voltage trigger signal is present at the Trigger Jack and
return to the Standby Mode when the trigger signal is removed.
As a general rule, it is always a good idea to turn on your amplifier LAST.
This avoids the possibility of any turn on-pops or transients from other
equipment being amplified and sent to your speakers where they may
cause damage.
Always start with a low volume level on your receiver, controller or pre-
amp to avoid damage to your speakers.
SAFETY NOTE: To prevent unintended operation, remember
to turn the unit completely off when it will not be used for an
extended period of time. This is done by turning the AC Power
Switch OFF and noting that the front panel LED indicator goes off.
This will prevent the automatic turn-on circuits from accidentally
turning the amplifier on during your absence.
Bass Level Control
BASS LEVEL
MIN
REF
side the available range of the receiver's control.
Phase
PHASE
0
180
MAX
InWall Subwoofer System
MANUFACTURED UNDER LICENSE FROM THX LTD.
THX IS A TRADEMARK OF THX LTD, WHICH MAY BE REGIS-
TERED IN SOME JURISDICTIONS. ALL RIGHTS RESERVED
OUTPUT
-
MANUFACTURED UNDER LICENSE FROM THX LTD.
THX IS A TRADEMARK OF THX LTD, WHICH MAY BE REGIS-
TERED IN SOME JURISDICTIONS. ALL RIGHTS RESERVED
In most installations, this is set to the "REF"
PHASE
position , and the subwoofer's level is con-
0
180
trolled via the preamp/processor's subwoofer
level function. This front-panel control is used
MAX
when the preamp/processor has no such
capability, or when the desired setting is out-
The correct setting of this control is that which
provides the smoothest transition between the
subwoofer and the rest of the system. Try both
positions, and use the one which sounds best; in
most systems, 0° is preferred.
WARNING: TO REDUCE THE RISK OF FIR
DO NOT EXPOSE THIS APPLIANCE TO
AVIS: RISQUE DE CHOC ELECTRIQU
SA-380 Ser
