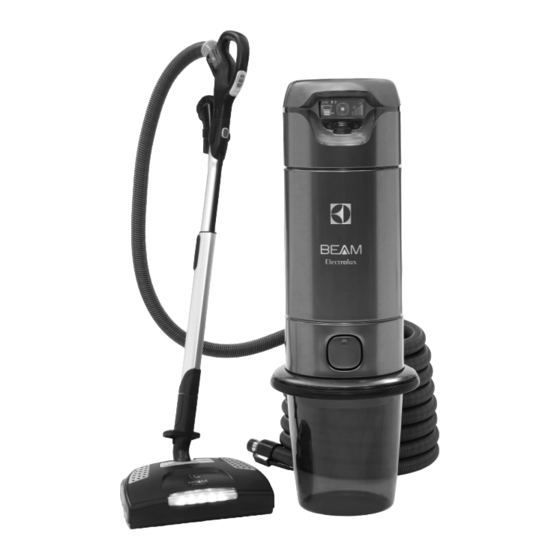
Electrolux Beam Alliance Manuale operativo - Pagina 8
Sfoglia online o scarica il pdf Manuale operativo per Aspirapolvere Electrolux Beam Alliance. Electrolux Beam Alliance 13. Central vacuum system
Anche per Electrolux Beam Alliance: Manuale operativo (36 pagine), Manuale operativo (16 pagine)

The BEAM Alliance central vacuum system is equipped with a ow-thru motor and will never need lubrication.
Should you experience any problems with your motor, please contact your local authorized dealer/distributor.
•
Power unit can be dusted off with a clean, soft cloth. Caution: do not use liquid cleaners or water as an
electrical shock may occur.
•
Do not tamper with power unit. Do not place anything on top of power unit as this could restrict cooling air
to the motor, causing the motor to overheat.
•
Do not attempt to pick up anything that will not go through the cleaning tool or hose end. Do not use the
system to pick up construction debris.
•
Do not attach anything else to the system's electrical power source. Be sure that a properly- sized protected
circuit is used for your unit's electrical requirements. Consult your authorized Beam dealer for the correct
size.
•
After removing the hose from the inlet, hold the inlet door open for a few seconds to help clear dirt from the
vacuum tubing and make sure the power unit has been turned off.
•
To ensure proper cleaning, use only one inlet at a time.
•
If service is ever required, have it performed by your authorized Beam dealer.
Dirt Bucket Cleaning and Maintenance
All of the dirt vacuumed from your home is captured in the dirt bucket located on the bottom of your power unit.
It is important that you remember to empty it on a regular basis to ensure optimal performance. The frequency
required is dependent on many factors in your home (i.e. type of oor coverings, number of people living in the
home and how many pets). A general rule is to empty the dirt receptacle twice a year... in spring and in fall. It
is ideal to empty the dirt bucket when it is half full.
To remove the bucket simply press the Release Ring in
any two opposing positions and pull down. Empty the
debris into a garbage can or bag and reinstall the bucket.
You will hear a click when it is properly reinstalled. It is
important to note that the system will not operate properly
if the bucket is not installed properly (Figure 6).
While the dirt receptacle is off, check that the cloth lter
is free from debris, tears or puncture holes. A clean lter,
free from holes gives your motor maximum protection and
ensures optimal performance.
HEPA Filter Maintenance
It is recommended that you change the HEPA lter annually, (more regularly if you vacuum more than twice a
week).
1.
Open HEPA lter door with button located on the side, center
of door.
2. Press down on the tab at top of lter and pull outwards,
(discard lter).
3. Insert New HEPA lter aligning and leading with the two plastic
tabs at bottom of cavity.
4. Snap upright into place.
5. Close HEPA door without force. If the door does not close
easily, remove and reinstall lter (Figure 7).
8
Figure 6
Figure 7
