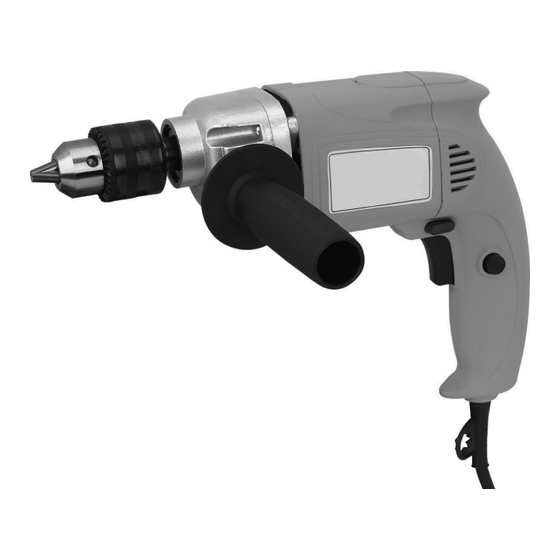
Drill Master 3273 Manuale di installazione e istruzioni per l'uso - Pagina 12
Sfoglia online o scarica il pdf Manuale di installazione e istruzioni per l'uso per Trapano Drill Master 3273. Drill Master 3273 16. Heavy-duty 1/2” vsr drill
Maintenance and
SeRvicing
Procedures not specifically
explained in this manual
must be performed only by a
qualified technician.
FROM accidental
OpeRatiOn:
disengage the trigger and
unplug the tool from its
electrical outlet before
performing any inspection,
maintenance, or cleaning
procedures.
tO pRevent SeRiOuS
injuRy FROM tOOl
FailuRe:
do not use damaged
equipment. if abnormal noise
or vibration occurs, have the
problem corrected before
further use.
cleaning, Maintenance, and
lubrication
1.
beFORe eacH uSe,
general condition of the tool. Check
for loose hardware, misalignment
or binding of moving parts, cracked
or broken parts, damaged electrical
wiring, and any other condition that
may affect its safe operation.
2.
aFteR uSe,
of the tool with clean cloth.
3.
waRning! if the supply cord of
this power tool is damaged, it must
be replaced only by a qualified
service technician.
SKU 3273
For technical questions, please call 1-800-444-3353.
tO pRevent
SeRiOuS injuRy
inspect the
wipe external surfaces
carbon brush Service
If the Carbon Brushes are damaged
or worn, they must be replaced
by a qualified service technician.
improper service may result in the
double insulation system being
compromised.
chuck (1) Replacement
1.
disengage the trigger and unplug
the tool from its electrical outlet.
Open the Chuck Jaws fully.
2.
3.
Remove the Chuck Screw (44)
inside the Chuck Jaws by turning it
counterclockwise.
4.
Switch the Direction Switch to the
reverse direction. Plug the Power
Cord into a suitable outlet.
5.
Hold the Chuck Ring with a gloved
hand and gently squeeze the trigger
with your other hand.
6.
The Chuck should come off in your
gloved hand.
7.
Install the new Chuck by reversing
the above steps.
Page 12