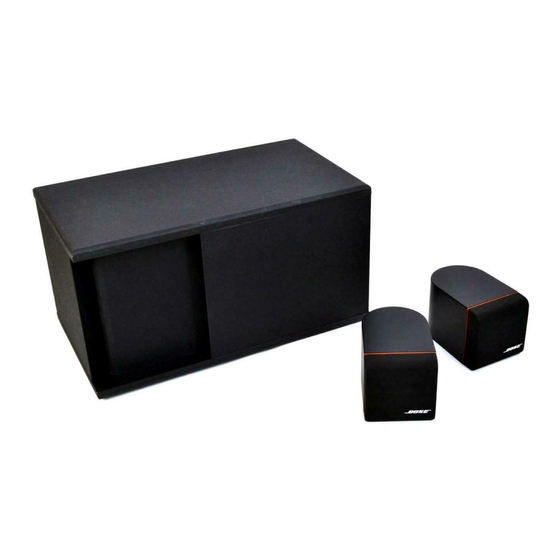
Bose Acoustimass 3 Series Manuale - Pagina 14
Sfoglia online o scarica il pdf Manuale per Sistema di altoparlanti Bose Acoustimass 3 Series. Bose Acoustimass 3 Series 43. Powered speaker system
Anche per Bose Acoustimass 3 Series: Manuale d'uso (17 pagine), Manuale d'uso (10 pagine), Manuale di servizio (42 pagine)

C. Push down the corners of the PCB until all 4
adapter bracket snaps (not shown) engage.
Make sure that the J5 connector pins are
completely inserted into the mating connector
housing.
D. Plug in the flat, 16-pin cable (13) to the PCB.
E. Secure the PCB to the adapter bracket with 3
screws (6).
F. Place the connector gasket (7) over the
connector panel.
5. Adapter Bracket and Heatsink Removal
NOTE: It is only necessary to remove 3 screws
(10) to remove the adapter bracket (8). These
screws are located on the same side as the
module's labels. The bracket hooks onto a flange
that is part of the heatsink (9). If further
disassembly of the unit is required, then all 6
screws (10) should be removed.
A. Remove 6 screws (10) that secure the adapter
bracket and the heatsink to the module.
B. Pull the bracket and heatsink away from the
module.
NOTE: The Amplifier PCB Assembly (11) may be
stuck to the heatsink with thermal grease.
6. Adapter Bracket and Heatsink Replacement
A. Lower the heatsink (9) into position on top of
the Amplifier PCB (11). Make sure that the side
of the heatsink with smaller fins is aligned with
the module's label side.
B. Align the screw holes on the heatsink with
those on the transformer cup (19).
C. Hook the adapter bracket (8) onto the heatsink
flange. Lower the adapter bracket into position.
The bracket has screw holes only on one side.
These should be aligned with the screw holes on
the module's label side.
D. Secure the heatsink and adapter bracket to
the module with 6 screws (10).
7. Amplifier PCB Assembly Removal
NOTE: It is not necessary to completely
disassemble the unit to access the Amplifier PCB
(11). Follow the simplified steps A-D below if
direct access to this PCB is required and you
have not already disassembled the unit.
A. Remove the cover (3) using Procedure 1.
B. Unplug the flat 16-pin cable (13) connecting
the Main PCB to the Amplifier PCB.
C. Remove 6 screws (10) that secure the adapter
bracket (8) and heatsink (9) to the module.
D. Lift the Main PCB (5), adapter bracket and
heatsink away from the module.
NOTE: The Main PCB should remain connected
to the transformer primary side. It should also
remain secured to the adapter bracket with 3
screws (6).
E. Lift up the Amplifier PCB (11) and unhook
connectors J1 and J4 from the PCB. J4 is
connected to the woofer and J1 is connected
to the transformer assembly's (18) secondary
side. Pull the PCB away from the unit.
F. Remove the two transistor spring clips (14)
that rest on the transformer cup (19).
8. Amplifier PCB Assembly Replacement
A. Place the two transistor spring clips (14) on
the transformer cup (19).
B. Connect the J4 connector to the safety-
controlled woofer cable (24) and connector J1 (5
pin) to the transformer assembly's (18)
secondary side. When facing the module's label
side, the transformer's secondary side is on the
right.
NOTE: The large capacitors on the Amplifier
PCB (11) fit into one side of the transformer cup
(19).
14
