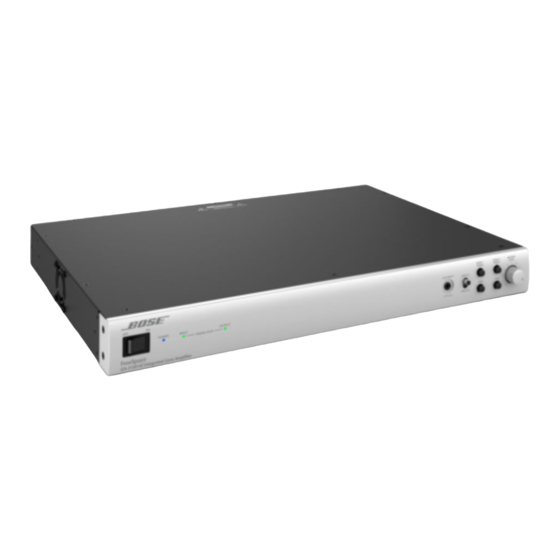
Bose FreeSpace IZA 2120-LZ Manuale di installazione e funzionamento - Pagina 34
Sfoglia online o scarica il pdf Manuale di installazione e funzionamento per Amplificatore Bose FreeSpace IZA 2120-LZ. Bose FreeSpace IZA 2120-LZ 48. Integrated / zone amplifiers
Anche per Bose FreeSpace IZA 2120-LZ: Manuale d'installazione e d'uso (48 pagine)

- 1. Table of Contents
- 2. Freespace® Iza 2120-Lz / Iza 2120-Hz Integrated Zone Amplifier
- 3. Iza 2120-Lz Rear Panel
- 4. Za 2120-Lza/Hza Rear Panel
- 5. Remote Volume Control
- 6. Connecting the CC-1 to a Freespace® Amplifier
- 7. Connecting an Iza 2120-Lz/Hz Amplifier to a Za 2120-Lza/Hza Amplifier
- 8. Troubleshooting
Installation
pro.Bose.com
Expanding an IZA System with a ZA Amplifier
Expansion Overview
The FreeSpace® zone amplifier makes system expansion easy. When a system design requires more
loudspeakers than the FreeSpace IZA 2120-LZ/HZ integrated zone amplifier can support, a FreeSpace
zone amplifier can be connected to provide additional power or zones.
When connected together, the IZA 2120-LZ/HZ and any zone amplifier (ZA 2120-LZA/HZA, ZA 250-LZ,
ZA 190-HZ) can operate together as one system, sharing the same music and paging sources. The IZA
2120-LZ/HZ amplifier operates as the master of the zone amplifier, determining which audio sources will
be heard. The overall MASTER LEVEL volume can be controlled by the integrated zone amplifier in one
larger zone, or volume control can be distributed in multi-zone installations.
Connecting an IZA 2120-LZ/HZ Amplifier to a ZA 2120-LZA/HZA Amplifier
Using the included RCA cable, connect the AUX OUT of the IZA 2120-LZ/HZ amplifier to the unbalanced
INPUT of any zone amplifier.
Figure 17. Connecting an IZA 2120-LZ/HZ to a ZA 2120-LZA/HZA
FIXED
VARIABLE
AUX OUTPUT
Note: It is recommended that when amplifiers are connected together, that both amplifier AC power cords
are plugged into the same AC outlet to reduce potential noise issues.
Line Input Connections
When using a front-end signal processor, or connecting multiple zone amplifiers to an integrated zone
amplifier, the included RCA cable may need to be modified. The wiring diagram for the zone amplifier
line-level input RCA connectors is provided below.
Figure 18. Zone amplifier line-level input RCA connectors
Sleeve
Tip
34 - Installation Guide
