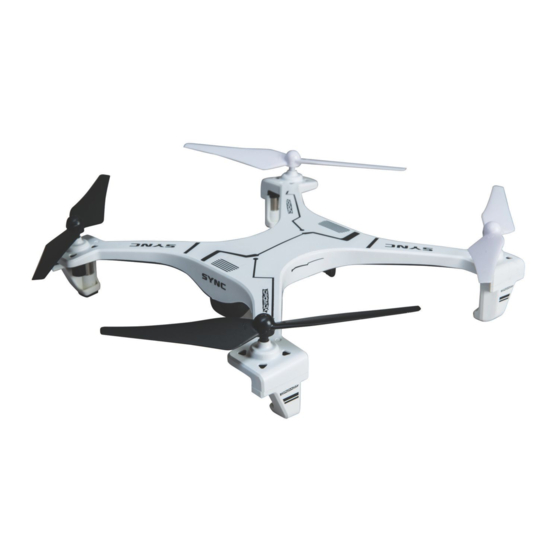
Dromida Sync 251 UAV Manuale di avvio rapido - Pagina 3
Sfoglia online o scarica il pdf Manuale di avvio rapido per Quadcopteri Dromida Sync 251 UAV. Dromida Sync 251 UAV 17.

Auto
Takeoff/Land
CONTROLLER
Video
Button
Motor Start
Optics
Auto
On/Off
Takeoff/Land
Throttle/
Rudder
Stick
Video
Button
Headless
On/Off
Throttle/
Rudder
Stick
Headless
On/Off
Rudder
Trim
Remove the screw on the battery
compartment cover. Take the cover off and
insert (4) AAA batteries. Replace cover,
securing with the screw.
• Do not mix old and new batteries.
• Do not mix alkaline, standard, or
rechargeable batteries.
CAUTION: Risk of explosion if
battery is replaced by an incorrect
type. Dispose of used battery according
to the instructions.
CHARGING the FLIGHT BATTERY
Battery
Compartment
Plug the charger into a USB port or AC adapter
Screw
(not included) and connect the battery. The
red LED will be steady while the battery is
charging. The LED will flash slowly when the
battery is fully charged.
• NEVER leave the battery unattended while charging.
• DO NOT allow the USB port to power down while
the charger is connected to the battery.
• ALWAYS unplug the charger from
the USB port and the battery when
charging is complete.
• The battery connector will only fit in one way.
GET READY TO FLY
1. Turn on the controller.
2. Connect the flight battery and set on a level
surface.
3. Move the throttle stick to its highest position
and listen for a beep.
4. Move the throttle stick down to its lowest
position and listen for a beep. The flashing
LEDs on the Sync 251 Drone's arms will
become steady.
5. For your first flight, we recommend calibrating
the sensors (page 4).
The motors are now armed and can be started with
the motor start button.
On/Off
Phone Holder
Elevator
Trim
Flip
Phone Holder
Rudder
ON/OFF
Trim
ON/OFF
Aileron
Trim
Battery
Compartment
Screw
Trim
Flip
HOW to FLY
Picture
Button
B
Aileron/
Elevator
Picture
Stick
Button
C
Aileron/
Aileron
Elevator
Trim
Stick
Basic Flight
After initially connecting the battery, move the left stick up then down
to arm the motors. Press the Motors Start button until the motors start to spin. Press
again and the drone will auto-take off and hover about 3 feet (1 meter) above the
floor. OPTION: After the motors are spinning, the throttle stick can also be used to
manually take off. Slowly advance the throttle and release it when you reach the
desired height.
The control sensitivity should be in the low setting if flying indoors. Small
movements of the pitch, roll and yaw control sticks should be used to move. Raise
or lower the throttle stick to change the altitude. When the drone is at the desired
height, release the throttle stick so the Altitude Hold sensor can maintain and hold
height. If you get into trouble and see that the drone is going to crash, press and
HOLD the MOTOR START/STOP button to stop the motors as soon as possible.
Sensitivity Adjustment
of the controls.
Sensitivity
Beep
Low
High
Flips
Tap the flip button. Move the right stick in the direction desired and
release it when it starts to flip.
IMPORTANT: Flips cannot be done when the LEDs indicate the battery voltage
is low.
3
D
B
C
D
A
D
B
B
C
A
D
Push down on the right stick to change the sensitivity
Flight Mode LED
1
Blue
2
Purple
E
A
A
C
Flip
E
E
E
E
