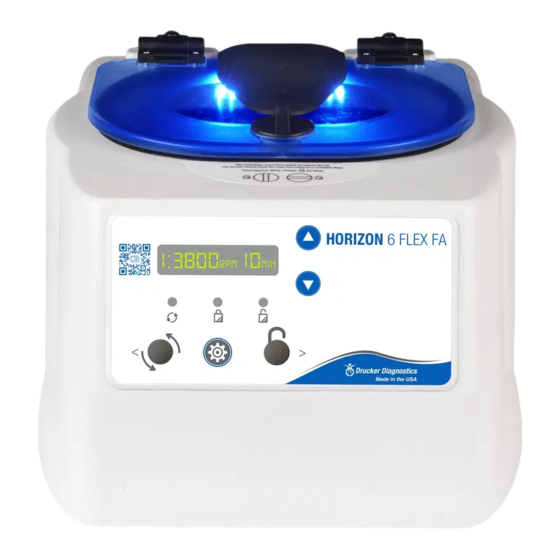
Drucker Diagnostics Horizon 6 Flex Manuale di servizio - Pagina 8
Sfoglia online o scarica il pdf Manuale di servizio per Apparecchiature di laboratorio Drucker Diagnostics Horizon 6 Flex. Drucker Diagnostics Horizon 6 Flex 10.
Anche per Drucker Diagnostics Horizon 6 Flex: Manuale dell'operatore (14 pagine)

7.10. Replacing the motor
•
Flip the guard bowl upside down and locate the notch on the bottom.
•
Install the motor into the guard bowl with the wires reaching in the same direction
as the notch.
•
Holding the motor in place, flip the bowl on its side and drive 4 #8 Nylok nuts onto
the motor studs with an 11/32" nut driver.
•
Turn the guard bowl assembly upside down and position the bowl so the notch is in
an 8 o'clock position.
•
Place the base assembly onto the guard bowl – make sure the orientation of the
motor wires is the same as the image below.
•
Make certain that the motor wires are in the notch, and that no wires are pinched
between the guard bowl and base.
•
Fasten the guard bowl to the base with the six screws, connect the brown wire to
the capacitor, ground to the ground stud and the remaining wires black-to-black,
white-to-white.
7.11. Power Connections and Final Assembly
•
Make certain that the lower assembly is unplugged from the mains supply.
•
Connect all wiring harnesses to the control board as shown in the wiring diagram in
section 8.
•
Carefully place the cabinet onto the base taking care not to pinch any wires
between the two.
•
Complete the assembly by replacing the six screws in the bottom and three in the
rear.
DRUCKER DIAGNOSTICS
HORIZON 6 SERVICE MANUAL
SM024
REV A
8
