Daikin R32 Split Series Manuale di installazione - Pagina 8

Sfoglia online o scarica il pdf Manuale di installazione per Ventilatore Daikin R32 Split Series. Daikin R32 Split Series 16. R32 split series
Anche per Daikin R32 Split Series: Manuale di installazione (17 pagine), Manuale di installazione (16 pagine), Manuale di installazione (16 pagine), Manuale di installazione (17 pagine), Manuale di installazione (16 pagine), Manuale di installazione (20 pagine), Manuale di installazione (14 pagine), Manuale di installazione (14 pagine), Manuale operativo (16 pagine), Manuale operativo (16 pagine), Manuale operativo (8 pagine), Manuale di installazione (17 pagine), Manuale di installazione (16 pagine), Manuale di installazione (20 pagine), Manuale di installazione (20 pagine), Manuale di installazione (16 pagine), Manuale di installazione (16 pagine), Manuale di installazione (14 pagine), Manuale di installazione (14 pagine), Manuale di installazione (16 pagine), Manuale di installazione (17 pagine), Manuale di installazione (20 pagine), Manuale di installazione (13 pagine)
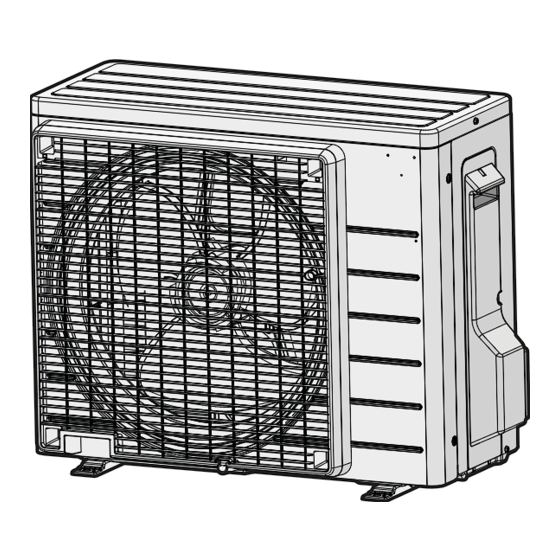
Daikin R32 Split Series Manuale di installazione
4 Installation
4.2.2

To install the outdoor unit

4× M8/M10
4.2.3

To provide drainage

NOTICE
If the unit is installed in a cold climate, take adequate
measures so that the evacuated condensate CANNOT
freeze.
NOTICE
If the drain holes of the outdoor unit are blocked up by a
mounting base or floor surface, place additional foot bases
≤30 mm under the outdoor unit's feet.
INFORMATION
For information on the available options, contact your
dealer.
1 Use a drain plug for drainage.
2 Use a Ø16 mm hose (field supply).
a
a
Drain port
b
Bottom frame
c
Drain plug
d
Hose (field supply)
4.2.4
To prevent the outdoor unit from falling
over
In case the unit is installed in places where strong wind can tilt the
unit, take following measure:
1 Prepare 2 cables as indicated in the following illustration (field
supply).
2 Place the 2 cables over the outdoor unit.
3 Insert a rubber sheet between the cables and the outdoor unit
to prevent the cables from scratching the paint (field supply).
4 Attach the ends of the cables and tighten them.
Installation manual
8
4.3
4.3.1
Before connecting the refrigerant piping
Make sure the outdoor and indoor unit are mounted.
Typical workflow
Connecting the refrigerant piping involves:
▪ Connecting the refrigerant piping to the indoor unit
▪ Connecting the refrigerant piping to the outdoor unit
▪ Insulating the refrigerant piping
b
▪ Keeping in mind the guidelines for:
▪ Pipe bending
c
▪ Flaring pipe ends
d
▪ Using the stop valves
4.3.2
4.3.3
▪ Piping length. Keep field piping as short as possible.

Connecting the refrigerant piping

DANGER: RISK OF BURNING

About connecting the refrigerant piping

Precautions when connecting the
refrigerant piping
DANGER: RISK OF BURNING
CAUTION
▪ Use the flare nut fixed to the main unit.
▪ To prevent gas leakage, apply refrigeration oil only to
the inside of the flare. Use refrigeration oil for R32.
▪ Do NOT reuse joints.
WARNING
Connect the refrigerant piping securely before running the
compressor. If the refrigerant piping is NOT connected and
the stop valve is open when the compressor is run, air will
be sucked in. This will cause abnormal pressure in the
refrigeration cycle, which may result in equipment damage
and even injury.
To connect the refrigerant piping to the
outdoor unit
(A)RXP20~35L5V1B + RXF20~35A5V1B + RXF20~25B5V1B
R32 split series
3P519299-2H – 2019.09