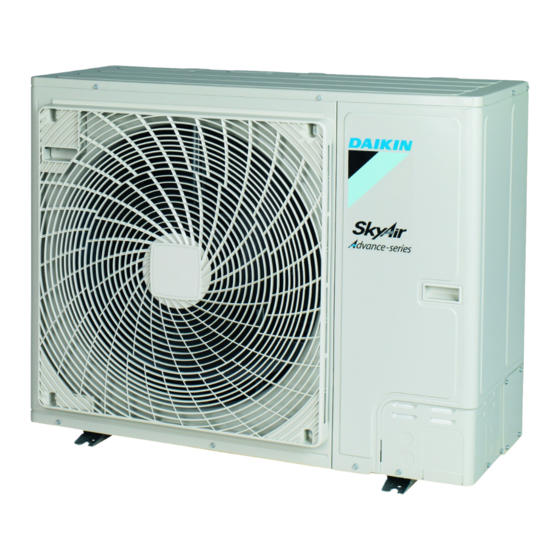
Daikin Sky Air Advance RZA200D7Y1B Manuale di installazione - Pagina 14
Sfoglia online o scarica il pdf Manuale di installazione per Ventilatore Daikin Sky Air Advance RZA200D7Y1B. Daikin Sky Air Advance RZA200D7Y1B 20.

5 Commissioning
Routing through
Choose one of the 3 possibilities:
the frame
1
a
a Power supply cable
Note: Route the interconnection cable
together with the refrigerant piping. See
"4.6.1 To finish the outdoor unit
installation" [ 4 14].
Connecting to the
When cables are routed from the unit, a
frame
protection sleeve for the conduits (PG
insertions) can be inserted at the knockout
hole.
When you do not use a wire conduit,
protect the wires with vinyl tubes to
prevent the edge of the knockout hole from
cutting the wires.
A Inside of the outdoor unit
B Outside of the outdoor unit
a Wire
b Bush
c Nut
d Frame
e Hose
NOTICE
Precautions when making knockout holes:
▪ Avoid damaging the casing and underlying piping.
▪ After making the knockout holes, we recommend to
remove the burrs and paint the edges and areas
around the edges using repair paint to prevent rusting.
▪ When passing electrical wiring through the knockout
holes, wrap the wiring with protective tape to prevent
damage.
6 Reattach the service cover.
7 Connect an earth leakage circuit breaker and fuse to the power
supply line.
4.6
Finishing the outdoor unit
installation
4.6.1
To finish the outdoor unit installation
1 Insulate and fix the refrigerant piping and interconnection cable
as follows:
Installation manual
14
3
a
2
a
A B
a b c
d
e
c
a
d
b
e
f
a
Gas pipe
b
Gas pipe insulation
c
Interconnection cable
d
Liquid pipe
e
Liquid pipe insulation
f
Finishing tape
2 Install the service cover.
4.6.2
To check the insulation resistance of the
compressor
NOTICE
If, after installation, refrigerant accumulates in the
compressor, the insulation resistance over the poles can
drop, but if it is at least 1 MΩ, then the unit will not break
down.
▪ Use a 500 V mega-tester when measuring insulation.
▪ Do not use a mega-tester for low-voltage circuits.
1 Measure the insulation resistance over the poles.
If
≥1 MΩ
Insulation resistance is OK. This procedure
is finished.
<1 MΩ
Insulation resistance is not OK. Go to the
next step.
2 Turn ON the power and leave it on for 6 hours.
Result: The compressor will heat up and evaporate any
refrigerant in the compressor.
3 Measure the insulation resistance again.
5
Commissioning
Please provide the eco design data according to (EU)2016/2281 to
the customer. This data can be found in the installer reference guide
or via the Daikin website.
NOTICE
General
commissioning
commissioning instructions in this chapter, a general
commissioning checklist is also available on the Daikin
Business Portal (authentication required).
The general commissioning checklist is complementary to
the instructions in this chapter and can be used as a
guideline and reporting template during the commissioning
and hand-over to the user.
NOTICE
ALWAYS operate the unit with thermistors and/or pressure
sensors/switches. If NOT, burning of the compressor might
be the result.
5.1
Checklist before commissioning
After the installation of the unit, first check the items listed below.
Once all checks are fulfilled, the unit must be closed. Power-up the
unit after it is closed.
You read the complete installation instructions, as
described in the installer reference guide.
The indoor units are properly mounted.
Then
checklist.
Next
to
the
RZA200+250D7Y1B
Sky Air Advance-series
4P573384-1 – 2019.04
