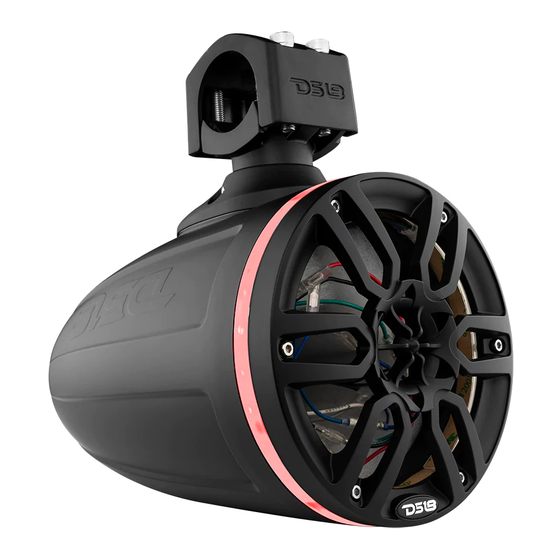
DS18 HYDRO NXL-X6TP.NS Manuale d'uso - Pagina 6
Sfoglia online o scarica il pdf Manuale d'uso per Altoparlanti DS18 HYDRO NXL-X6TP.NS. DS18 HYDRO NXL-X6TP.NS 12. Marine tower pod for 6.5" speakers with grill and rgb led lights included

INSTALLATION / INSTALACIÓN
Step 8: Push the wire into the tube, press on
the rubber pad, and lock the top clamp.
Step 9: Take down the safety rope and hang
it on the pipe, lock the screw gasket safety
rope lifting ring on the clamp base, and apply
screw fastening glue on the screw before
locking.
Step 10: If need be, rotate the speakers for
best dispersion, this easily done by locating
the 6mm & 4mm hex wrench set screw on
the side of the clamp base, rotate the speak-
er/enclosure to the desired angle, once
there... locking the screws tight. Avoid
vibration, clamp loose!!!
Step 11: During the mounting process, you
should have located the spot to drill your
tower bar for the 6 conductor wire (Speaker
and RGB lightning wiring) insertion. Or NOT
(see Tie-wrap solution below)
Step 12: Remove Wire NBR Plug and Slide
the wire through the hole Snake the wire
down to the bottom of the tower tube in a
location that the wires can be attached to
the audio (And lighting) system. Solder or
butt connect the speaker wire coming from
the tower to the speaker wire to the system.
Then heat-shrink it for added protection
from water/moisture.
5
Paso 8: Empuje el cable en el tubo, presione
la almohadilla de goma y bloquee la abraza-
dera superior.
Paso 9: Retire la cuerda de seguridad y
cuélgala en la tubería, bloquee el anillo de
elevación de la cuerda de seguridad de la
junta del tornillo en la base de la abrazadera y
aplique pegamento de fijación de tornillos
en el tornillo antes de bloquear
Paso 10: Si es necesario, gire los altavoces
para una mejor dispersión, esto se hace
fácilmente ubicando el tornillo de fijación de
la llave hexagonal de 6 mm y 4 mm en el lado
de la base de la abrazadera, gire el altavoz /
encaje al ángulo deseado, una vez allí...
bloquear los tornillos para evitar vibración y
que se suelte la abrazadera!!!
Step 9
Paso 9
Paso 11: Durante el proceso de montaje,
debería haber localizado el lugar para
perforar la barra de la torre para la inserción
del cable de 6 conductores (altavoz y cablea-
do de iluminación RGB). O SINO(vea la
solución de corbata a continuación)
Paso 12: Retire el enchufe del cable NBR y
deslice el cable por el orificio. Coloque el cable
en la parte inferior del tubo de la torre en un
lugar donde los cables se puedan conectar al
sistema de audio (e iluminación). Suelde o
conecte el cable del altavoz que viene de la
torre al cable del altavoz del sistema. Luego,
selle con calor para mayor protección contra
el agua / humedad.
