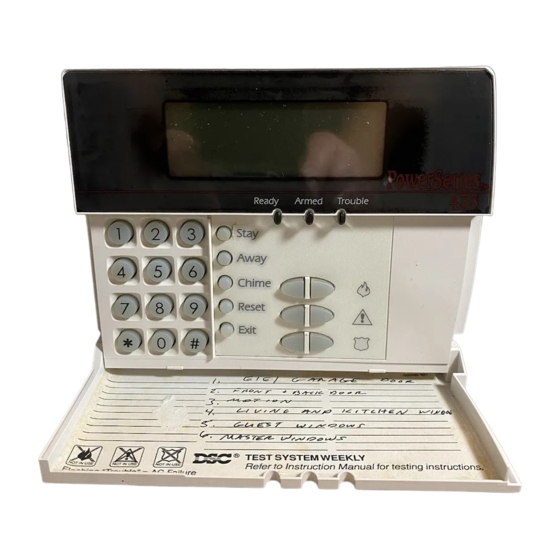
DSC LCD5501Z Manuale di istruzioni per l'installazione - Pagina 4
Sfoglia online o scarica il pdf Manuale di istruzioni per l'installazione per Sistema di sicurezza DSC LCD5501Z. DSC LCD5501Z 12. Dsc keypad
Anche per DSC LCD5501Z: Utilizzo (4 pagine)

Wiring
1. Before beginning to wire the unit, ensure that
all power (AC transformer and battery) is
disconnected from the control panel.
2. Connect the four Keybus wires from the control
panel (red, black, yellow and green) to the
keypad terminals (R B Y G). Consult the diagram
below:
3. You can connect a device - such as a door
contact - to the "Z" terminal of the LCD5501Z.
This eliminates the need to run wires back to
the control panel for the device. To connect the
zone, run one wire from the device to the Z
terminal and the other wire from the device to
the B (black) terminal. For powered devices,
run the red wire to the R (positive) terminal and
the black wire to the B (negative) terminal. When
using end of line supervision, connect the zone
according to one of the configurations outlined
in your system's Installation Manual .
Applying Power
Once all wiring is complete, apply power to the
control panel:
1. Connect the battery leads to the battery.
2. Connect the AC transformer.
For more information on control panel power
specifications, see the control panel Installation
Manual .
NOTE: Do not connect the power until all wiring is
complete.
4
Enrolling the Keypad
Once all wiring is complete, you will need to
enter a 2-digit number that tells the system the
partition and slot assignment of the keypad.
If your system has partitions, you will need to
also assign the keypad to a partition (1st digit).
The slot assignment (2nd digit) tells the panel
which keypad slots are occupied. The panel
can then generate a fault when a keypad
supervisory signal is not present. There are
eight available slots for keypads. LCD5501Z
keypads are always assigned to slot 1 by
default. You will need to assign each keypad
to its own slot (1 to 8).
Enter the following at each keypad installed on
the system:
1. Enter Installer Programming by pressing
[*][8][Installer's Code]
2. Press [000] for Keypad Programming
3. Press [0] for Partition and Slot Assignment
4. Enter a two digit number to specify the
partition and slot assignment.
NOTE: If your system does not have partitions,
enter [1] for the first digit.
1st digit
Enter 0 for Global Keypad
Enter 1 for Partition 1 Keypad
Enter 2 for Partition 2 Keypad
Enter 3 for Partition 3 Keypad
Enter 4 for Partition 4 Keypad
Enter 5 for Partition 5 Keypad
Enter 6 for Partition 6 Keypad
Enter 7 for Partition 7 Keypad
Enter 8 for Partition 8 Keypad
2nd digit
Enter 1 to 8 for Slot Assignment
5. Press the [#] key twice to exit programming.
6. After assigning all keypads, perform a
supervisory reset by entering [*][8][Installer's
Code][902]. The panel will now supervise all
assigned keypads and enrolled modules on
the system.
