3M Littmann 4000 Manuale - Pagina 9
Sfoglia online o scarica il pdf Manuale per Apparecchiature mediche 3M Littmann 4000. 3M Littmann 4000 11. Electronic stethoscope
Anche per 3M Littmann 4000: Manuale (11 pagine)
completely transferred. Do not move the stethoscopes until
the
is finished rotating.
• The Model 4000 may be exposed to excessive EMI/RFI,
electromagnetic noise. Remove the source of noise.
If none of these is the cause, refer to the Littmann
Stethoscope Service and Warranty section.
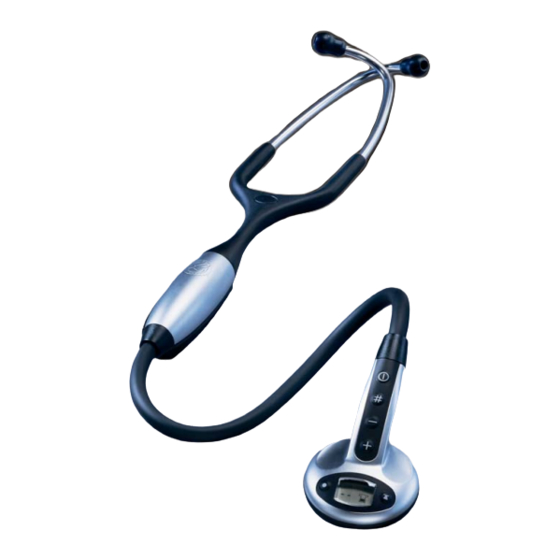
Headset Positioning
The Littmann Electronic Stethoscope Model 4000 is designed to
provide a comfortable, acoustically sealed ear fit. Notice that the
eartubes are permanently set at an angle to accommodate the
typical anatomy of the ear canal. The eartips should point in a
forward direction when inserted into the ear canals.
Correct
To reduce spring tension in the
headset, hold each eartube at
the bend near the eartip and
gradually pull apart until fully
extended.
To increase spring tension,
grasp the headset with one hand
where the eartubes enter the
plastic tubing and squeeze until
the plastic tubing on one eartube
touches the other. Repeat as
necessary.
For maximum acoustic
performance, comfortable patented
3M™ Littmann® Soft-Sealing
Eartips are provided with the
stethoscope. The stethoscope
utilizes a unique design for
attaching the eartip to the eartube.
The eartips are pushed onto the end of the eartube and snapped
in place. To remove, pull firmly on the eartip.
Diaphragm Removal and Replacement
Under normal conditions, it is unnecessary to remove the rim
and diaphragm for cleaning. The diaphragm can easily be
cleaned with an alcohol wipe. If, however, it is necessary to
remove the rim and diaphragm, carefully follow instructions:
Rim Removal:
• With diaphragm side up, using
Incorrect
Cleaning of the Rim and Diaphragm:
• Separate the diaphragm from the rim, and clean with mild
Diaphragm and Rim
Reassembly:
• Once the rim and diaphragm
8
a thumbnail, pry the rim out of
its designated groove, and pull
towards you. If the diaphragm
does not come off along with
the rim, remove this separately.
Do not disturb the components located under the diaphragm
once it is removed.
soapy water and/or alcohol. The surface of the chestpiece
can also be wiped with alcohol. Take care not to saturate
the chestpiece. Excess liquid used in the cleaning process
can result in moisture getting into the internal components.
are completely dry, place the
rim on a firm surface. Insert the
diaphragm into the inside