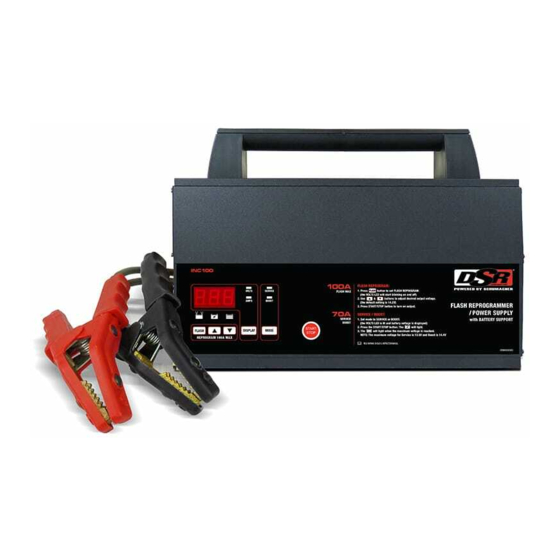
DSR INC100 Manuale d'uso - Pagina 5
Sfoglia online o scarica il pdf Manuale d'uso per Alimentazione DSR INC100. DSR INC100 16. Battery charger/power supply

7. GROUNDING AND AC POWER CORD CONNECTIONS
WARNING
RISK OF ELECTRIC SHOCK OR FIRE.
7.1 This battery charger is for use on a nominal 220-240V, 50/60Hz circuit. (See the warning
label on the charger for the correct input voltage.) The plug must be plugged into an outlet
that is properly installed and grounded in accordance with all local codes and ordinances.
The plug pins must fit the receptacle (outlet). Do not use with an ungrounded system.
DANGER
Never alter the AC cord or plug provided – if it does not fit the outlet, have
7.2
a proper grounded outlet installed by a qualified electrician. An improper connection can
result in a risk of an electric shock or electrocution.
7.3 Recommended minimum AWG size for extension cord:
• 100 feet (30.5 meters) long or less – use a 12 gauge (3.31 mm
• Over 100 feet (30.5 meters) long – use an 8 gauge (8.36 mm
8. MOUNTING INSTRUCTIONS
NOTE: The INC100 is non-portable equipment, suitable for mounting only on concrete or
other non-combustible surfaces.
To permanently mount the charger, use the following instructions:
8.1 Slide all 4 brackets (Item 1) into the track on the back, from the right side, as shown above.
Make sure the set screws (Item 2) are unscrewed enough so they do not scratch the
surface of the housing.
8.2 Measure what you are mounting the charger to before deciding where to locate the
brackets (add an additional ¼ to ½ inch). Use the ruler on the label (Item 3) to mount the
brackets (Item 1) in the correct position (position each bracket an equal distance from
the center of the charger). Note that the inches shown are for both bracket dimensions
combined (meaning the dimensions are doubled), this is for easier reference. Make sure
the ¼-28 set screws (Item 4) are unscrewed enough so the pointed end is almost flush
with the bracket. Mount the brackets (Item 1) by tightening all 8 set screws (Item 2) to
14 in/lb (1.6 n/m) of torque.
8.3 Lift the charger by its handle and set it against your mounting location, tighten the set
screws (Item 4) to 66 in/lb (7.5 n/m) of torque to secure the brackets (Item 1), starting with
the top two brackets first.
4
2
• 5 •
) extension cord.
2
) extension cord.
2
1
3
