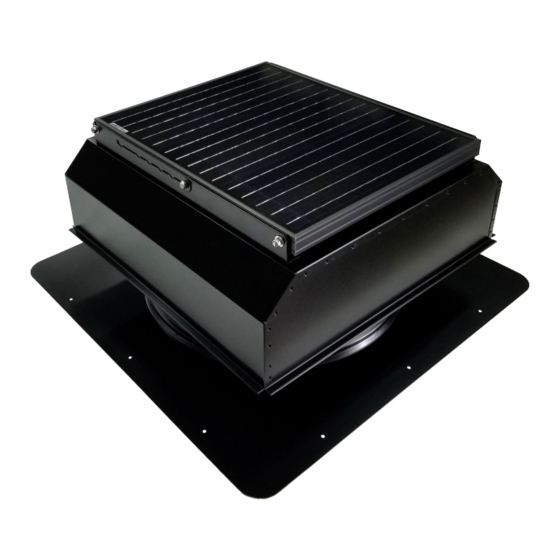
Attic Breeze AB–6523 Manuale di installazione - Pagina 3
Sfoglia online o scarica il pdf Manuale di installazione per Ventilatore Attic Breeze AB–6523. Attic Breeze AB–6523 4.

Installing the Fan
Step 1 - Cut the Hole
After choosing the location where your solar attic fan will be
installed, find the closest rafter to that location and determine if
your roof has either 16" on center or 24" on center rafter spacing.
If your roof has 24" on center rafter spacing, find the center point
between two rafters and mark it as the center of the vent hole. For
roofs with 16" on center spacing, mark the rafter itself as the center
of the vent hole. Using the center as a reference point, trace out a
20" diameter circle with the hole template (see Figure 1). Next, use
a reciprocating saw to cut out the traced hole pattern from the roof
decking. Remove the cut out decking material from around the
hole as needed.
ATTENTION:
STRUCTURAL MEMBERS WHILE CUTTING THE VENT HOLE.
ONLY CUT OUT THE ROOF DECKING.
Step 2 - Release the Shingles
Insert the reciprocating saw sideways between the shingles and
roof decking. Starting at the 3 o'clock position of the vent hole,
begin cutting in a sweeping motion under the shingles, sawing
through any roofing nails or staples. Continue cutting counter-
clockwise around the vent hole until reaching the 9 o'clock
position. Using a roofing knife, cut a 4 inch horizontal slit in the
shingles at the 9 o'clock and 3 o'clock positions of the hole,
allowing the fan's flashing to slide underneath the shingles.
Step 3 - Remote Mounted Solar Panel
If your Attic Breeze fan is equipped with a unit mounted (attached)
solar panel, please proceed to the next section. For Attic Breeze
models featuring a remote mounted solar panel, the solar panel
will be mounted prior to installation of the fan unit.
Begin by locating the power cable included with your Attic Breeze
solar attic fan. Make sure the power cable is long enough to reach
the location where the remote solar panel will be installed.
If additional power cable length is needed for your installation,
Attic Breeze offers a 25 foot extended power cable as an
available option.
Route the power cable through the attic, starting from the vent
hole area to the location where your remote solar panel will be
installed and secure the power cable in place. The power cable
may be routed out of the attic by bringing the cable through an
existing passive vent, penetrating a gable wall and running the
cable along the roof eve, or simply routing the power cable directly
through the roof. When making any wall or roof penetration, caulk
around the penetration using a roof-grade weatherproof sealant.
Install the solar panel mounting brackets per the instructions included with your specific Attic Breeze bracket kit. Plug
in the power cord to the connector on back of the remote solar panel and securely mount the solar panel/bracket
assembly as required to your roof or structure.
DO NOT CUT THROUGH ANY RAFTERS OR
Figure 1 - Cutting the Hole
Figure 2 - Releasing the Shingles
