If a DHCP server is available on your network, an
address is assigned automatically by the server. Note
the assigned address:
_____________________________________
If you do not have a DHCP server, get an IP address and
subnet mask from your network administrator, type it
into the area provided, and select Next.
5
Click on Launch Browser.
Your browser points to the ATTO ExpressNAV splash
screen. If you use Internet Explorer as a browser,
continue on to
Set up Internet Explorer
continue on to
Begin initial
Set up Internet Explorer
1
Open your browser.
2
Select Internet Options.
3
In the Internet Options screen, select the Security
tab.
4
Click on the Trusted Sites icon.
5
Click on the Sites button.
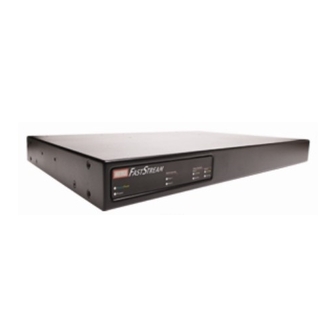
Exhibit 1 One view of how to connect the FastStream into a rack: brackets may be mounted on either the front or the connector sides
of the FastStream.
FastS tream
enclosure
a. A ttach brackets to both sides of the F astS tream
enclosure using brackets and screw s supplied by
A TTO .
Exhibit 2 Detail of the connector side of the FastStream enclosure.
below. If not,
configuration.
6
In the text box Add this Web site to the zone, add the
IP address of the appliance. You may use wild cards.
7
Click on Add.
8
Uncheck the Require server verification check box.
9
Click OK.
10 At the bottom of the Internet Options box, click on OK
and close the box.
Begin initial configuration
1
The ExpressNAV interface welcome screen appears.
Click on Enter Here.
2
Type in the user name and password.
Note
The default user name is root; it is case insensitive.
The default password is Password; it is case
sensitive. It is best practice to change the passwords.
3
Initialize drives and set up RAID groups using the
wizards provided in ExpressNAV. Refer to the
Installation and Operation Manual for details.
FastS tream
b. A ttach the enclosure /bracket assem bly to the
rack using the screw s needed for your rack .
enclosure

