Comtrol ROCKET LINX ES7506 Manuale di installazione rapida - Pagina 6
Sfoglia online o scarica il pdf Manuale di installazione rapida per Interruttore Comtrol ROCKET LINX ES7506. Comtrol ROCKET LINX ES7506 8. Industrial 6-port managed poe switch
5.
Right-click the ES7506 in the Device List pane (lower) that you want to
configure and click Properties.
6.
Enter a user-friendly Device Name.
7.
Optionally, enter the ES7506 serial number, which displays a friendly
device name in the Device List pane on the main page.
8.
Select DHCP IP or Static IP for the IP Mode.
•
If you select DHCP IP, go to Step 9.
•
If you select Static IP, enter an IP address, Subnet Mask, and
Default Gateway value for your network.
Optionally, select the appropriate Network Topology, which is an
9.
informational field.
10. Click the Apply Changes button.
11. Click Close to return to the main screen.
You are now ready to configure the ES7506 features.
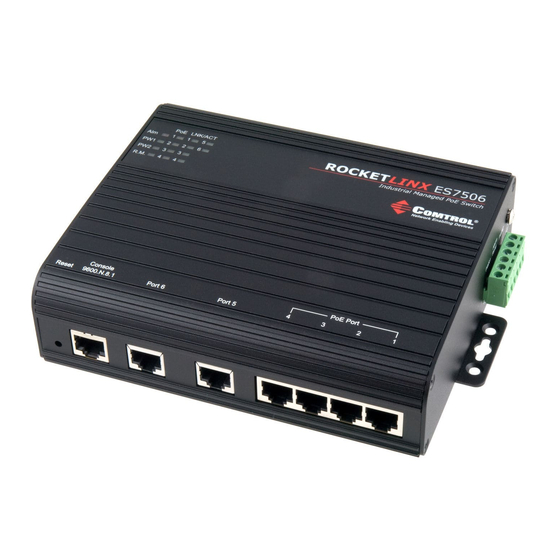
LED INDICATORS
You can also view the LEDs for the ES7506 through the web interface using
the Device Front Panel page.
LEDs
LED On
Alm
Alarm activated
(Alarm)
or port link down
PW1/
Green: Power
PW2
R.M.
Green: Working
(Ring
as a Ring Master
Master)
PoE 1-4
Amber: PoE
powering
LNK/ACT
Port link up
1-6
(cont. from page 4)
LED Blinking
Not applicable
Not applicable
Amber: Ring
failed
Blinking: PoE
Detect
Blinking fast: PoE
powering failure
Active
connection
5
LED Off
Alarm not activated
No power
Ring function disabled
PoE disabled: power
output over current, a
cable short, or PoE is
disabled for that port
Port link down or port
not connected