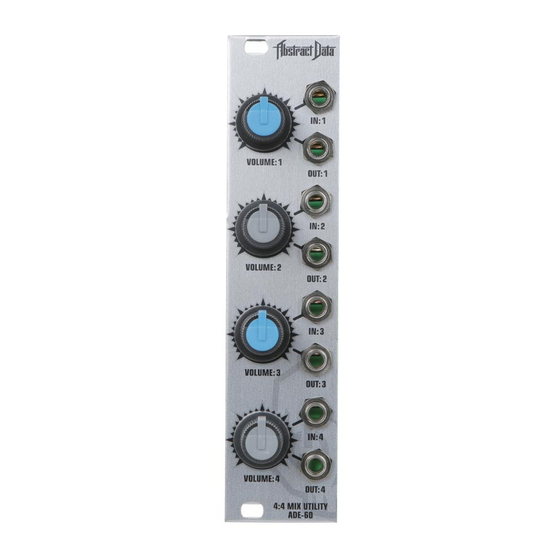
Abstract Data ADE-60 Manuale d'uso - Pagina 6
Sfoglia online o scarica il pdf Manuale d'uso per Mixer musicale Abstract Data ADE-60. Abstract Data ADE-60 17. 4:4 mix utility
Anche per Abstract Data ADE-60: Manuale d'uso (11 pagine)

4) Quick Start
1) BEFORE INSTALLATION
Looking at the back of the module, check that all 12 (4 sets of 3) black plastic jumper connectors
are fitted on the two left-hand pins of each of the 3-pin header connectors.
All 12 jumpers are now in the off position and none of the channels will have Attenuversion, Gain
or Bias/Offset and CV options active.
Once this has been checked – the module can be installed into your rig and powered up as normal.
>> For more information on jumper connections see Section 7
2) SET UP A 1-INPUT / 1-OUTPUT ATTENUATOR
Turn all 4 knobs fully counter-clockwise (fully left).
Connect a Eurorack audio signal, e.g. the output of a VCO, to IN:1 and connect OUT:1 to a device
that will let you safely listen to the signal using speakers or headphones.
Turn the VOLUME:1 knob clockwise (towards the right). You should hear the volume of the output
signal increase from silence (100% attenuation) at the fully counter-clockwise position to 'unity gain',
where the output signal is the same volume as the input, at the fully clockwise (fully right) position.
>> For more information on knob functionality see Section 6
3) SET UP A MULTI-INPUT / 1-OUTPUT MIXER
Turn all 4 knobs fully counter-clockwise.
Connect a Eurorack audio signal (as described in Step 2) to IN:1, connect a different audio signal
to IN:2 and connect OUT:2 to an output device (as described in Step 2).
Turn the VOLUME:1 knob towards the 12 o'clock position (centre) – you should now hear the input
signal at IN:1.
Turn the VOLUME:2 knob towards the 12 o'clock position – you should now hear a mix of the input
signals at IN:1 and IN:2.
Leave the two volume knobs where they are, disconnect the patch cable at OUT:2, re-connect
it at OUT:3 and now patch from OUT:2 to IN:3.
This configuration gives you independent control of the mix level of the input signals via VOLUME:1
and VOLUME:2 but also gives you a 'master volume' control of the entire mix via VOLUME:3.
>> For more information on patch examples see Sections 9.1, 9.2, 9.3 and 9.4
4) ACTIVATE ONE OF THE USER SETTING OPTIONS
Power down the module and carefully remove it from the case it's installed in – trying, where possible,
to handle the module by the front panel rather than the PCB.
Each ADE-60 channel has options for Attenuversion, Gain and Bias/Offset and CV output and each
of these 3 options can be turned on or off individually using jumper connectors.
Holding the module so you're looking at the rear PCB, carefully remove the top jumper (A1) from
the left 2 pins on the header connector and then carefully re-connect it over the right 2 pins.
By moving this jumper from the left off position to the right on position – you have turned on
Attenuversion on for channel 1.
Once the module is re-installed into your rig and powered up as normal – channel 1 will have
Attenuversion active and channels 2, 3 and 4 will continue to operate as normal attenuators.
>> For more information on user setting options see Sections 8.1, 8.2, 8.3
© Abstract Data Ltd.
Page 4 of 15
Version 1.1.0
