Elite Element DCM-120100C Manuale di istruzioni - Pagina 2
Sfoglia online o scarica il pdf Manuale di istruzioni per Strumenti di misura Elite Element DCM-120100C. Elite Element DCM-120100C 5. Multi-function panel meter
Installation
1. Cut rectangular hole in the panel precisely 76.5mm x 39.2mm to mount the meter.
2. Plug the multi-pair cable between the meter and the connector block. .
3. Mount the meter into the cutout, with the connector block accessible for wiring.
4. Connect the shunt in series with the heavy cable on negative terminal of battery.
5. Select the configuration (internal or external power) from Figures 1, 2, & 3.
6. Cable between the shunt and connector block according to selected configuration.
7. Connect DC positive (+) power to meter according to the selected configuration.
8. Test the meter for normal operation and calibrate it as follows.
Normal Operation
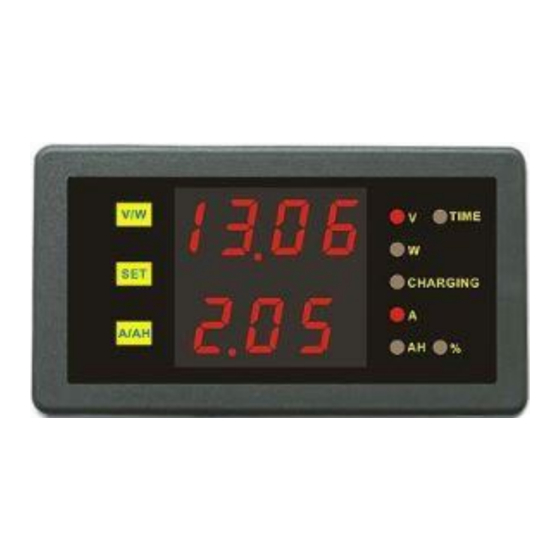
• By default, when the meter is first powered up, the display on the top line shows
voltage (V) and the display on the bottom line shows current (A).
• To switch the top display successively between power (W), working hours
(TIME), and voltage (V), press the V/W button repeatedly.
• To switch the bottom display successively between charge/discharge (AH),
capacity percentage (%) and current (A), press the A/AH button repeatedly.
• To turn all LEDs off press the SET button momentarily.
• To turn the display back on press the SET button momentarily again.
Debug Mode
The debug mode enables calibration, saving of settings and resetting to default values.
Switch the meter to debug mode by pressing and holding down the SET button until
the display changes. The first item of the debug menu will be displayed (voltage).
The voltage LED (labelled V) on the right hand side of the display will light.
To change to the next item in the debug menu (current), press the SET button
momentarily. The current LED (A) in the right hand side of the display will be lit.
Each successive momentary press of the SET button steps the display through the
remaining menu items (battery capacity (AH), save settings (ES) and reset-to-default
(dEF)) until the first menu item (voltage) is displayed again.
To quite the debug mode without saving any changes, press and hold down the SET
button until the display reverts to normal operation.
Calibration of Voltage Readings
• Display the battery voltage continuously with a separate calibrated voltmeter.
• Using the SET button on the panel meter, select the first item of the debug menu.
• The LED (V) to the right of the panel meter will light up.
• The top line of the LED display will show the voltage reading.
• If the reading is the same as on the calibrated voltmeter, then quit the debug mode.
• If the reading differs from the calibrated voltmeter then adjust the panel meter.
• Press the V/W button to increase the reading, or
• Press the A/AH button to reduce the reading.
- 2 -