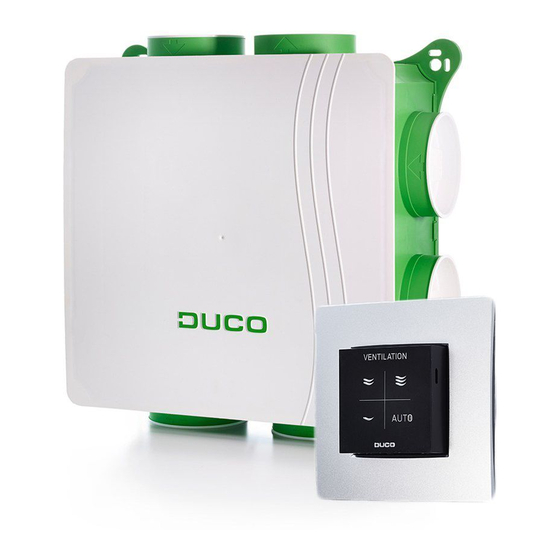
Duco DucoBox Focus Manuale di installazione - Pagina 4
Sfoglia online o scarica il pdf Manuale di installazione per Cappa di ventilazione Duco DucoBox Focus. Duco DucoBox Focus 16.
Anche per Duco DucoBox Focus: Manuale d'uso (2 pagine), Manuale di installazione (20 pagine), Avvio rapido (4 pagine)

ENGLISH
02 Installation
02.A Positioning
02.C Air duct
connections
Limit the resistance� A non-return flap is
required when discharging into a manifold�
Position it at least 30 cm away from the
DucoBox�
Be sure to take note of the '10 unmissa-
ble tips' as well when fitting the DucoBox�
Avoiding excessive use of bends, especially
angles sharper than 90° and adhering to the
diameter guidelines for the ductwork will
ensure that the ventilation box is able to do
its job satisfactorily� Failure to take account of
this recommendation may result in a highly
energy and maintenance intensive system
that gives rise to excessive noise nuisance
frequently�
4
L2000631 Installation guide for DucoBox Focus (Revision L | 06.09.2022)
installation-tips-duct-system-DucoBox-Silent-Focus-(en)
10 UNMISSABLE TIPS
The smooth running of your Duco ventilation system is totally dependent
on the choice and the quality of implementation of the duct system!
Has the duct system been optimized? Ask
professional advice from your duct supplier. It
saves you time, ensures quality and provides
energetic advantage for the end user!
DISCLAIMER: no rights can be derived from this document.
All tips are only advisory. All those carrying out
the work can, depending on the project at
hand, determine for themselves which
tips are feasible and/or useful.
1
Select a roof pass-through
with low resistance.
2
3
Keep the box airtight. Close
Do not place an
the cover tightly and place
exhaust air valve
a cap onto any unused
directly on the box.
opening.
Use a 90° bend
between the DucoBox
and the valve. Use
valves with an as low
as possible back-
pressure and follow
the instructions as
given in the manual
regarding the opening
of the valves.
4
Avoid as much as
possible the use of
curves. Avoid sharp
< 90°
angles.
5
Assure an airtight
connection by using
tape, clamping strips
or tie-wrap. Do not
use screws.
6
Avoid bumps and dirt in the ducts.
L1025000-B 01.06.2018
02.B Mounting
7
Duct leading to the roof pass-through: use a
reducer 125 mm – 160mm. Never use flexible
connections. Avoid curves in this part of the
canalization. If the DucoBox is not mounted in a
protected (insulated) volume, this duct needs to be
thermally insulated.
8
Reduce the transmission of
vibrations:
160
• Use Silent Block elements when
mm
fixing the DucoBox to the wall.
• Use duct suspension clamps with
rubber.
> 90°
0,5 à 1 m
10
Diameter of the ducts:
125 mm upward from 30 m³/h
100 mm less than 30 m³/h
Or an equivalent based on a specific duct calculation
(p.e. for ducts placed in floor screed). Make sure that
the total counter pressure in the ducts is as low as
possible (preferably ≤ 150Pa) and that the airspeed in
every duct does not exceed 3 m/s.
≥ 200 kg / m²
9
Use an
acoustic
silencer of
minimum
0.5 to 1 m.
This in every
connection
which leads
to a different
room.
125 mm → ≥ 30 m3/h
100 mm → < 30 m3/h
