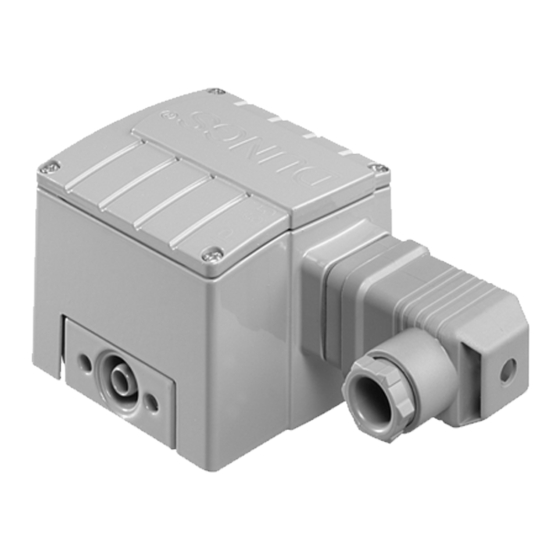
Dungs GW A4/2 HP X Series Istruzioni per il funzionamento e il montaggio - Pagina 7
Sfoglia online o scarica il pdf Istruzioni per il funzionamento e il montaggio per Interruttore Dungs GW A4/2 HP X Series. Dungs GW A4/2 HP X Series 8. High pressure gas and air pressure switch
Anche per Dungs GW A4/2 HP X Series: Manuale di istruzioni (12 pagine)

Nicht öffnen wenn Span-
nung anliegt oder explo-
sive Atmosphäre vorliegt!
Einstellung des Druckwächters
Deckel mit geeignetem Werkzeug
demontieren, Schraubendreher
No. 3 bzw. PZ 2, Bild 1. Deckel
abnehmen.
Berührschutz ist nicht
grundsätzlich gewährt,
Kontakt mit spannungsführen-
den Teilen möglich.
Druckwächter am Einstellrad mit
Skala � auf vorgeschriebenen
Drucksollwert einstellen, Bild 2.
Druckwächter schaltet bei stei-
gendem Druck: Einstellung auf die
linke Begrenzungslinie↑�.
Druckwächter schaltet bei fal-
lendem Druck: Einstellung auf die
rechte Begrenzungslinie �↓.
Deckel wieder aufsetzen!
Auf saubere Dichtungsflächen
achten!
Do not open in an explosive
atmosphere or as long as
voltage is applied!
Setting the pressure switch
Dismount the hood using a suitable
tool, e.g. screwdriver no. 3 or PH1,
Fig. 1. Remove hood.
There is no protection
against accidental contact.
Contact with live parts is pos-
sible.
Set the pressure switch at the setting
wheel � to the specified pressure
setpoint using the scale, Fig. 2.
Pressure switch switches as pressure
increases: Set to left limit line ↑�.
Pressure switch switches as pressure
reduces: Set to right limit line �↓.
Remount hood!
Make sure that the seal surfaces
are clean!
Ne jamais ouvrir sous
tension ou dans une at-
mosphère explosible !
Réglage des pressostats
Enlever les vis du capot en utilisant
un tournevis N
3. ou PZ 2, Fig 1.
o
Enlever le capot.
La protection n'est pas
garantie, contact avec des
pièces sous tension possible.
Régler le pressostat avec son bou-
ton gradué � à la valeur désirée,
Fig. 2.
Le pressostat commute par pres-
sion montante: régler sur la ligne
de limitation gauche ↑�.
Le pressostat commute par pres-
sion descendante: régler sur la ligne
de limitation droite �↓ .
Remonter le capot!
Veillez à ce que les surfaces
d'étanchéité soient propres !
Non aprire in presenza di
tensione o di atmosfera
esplosiva!
Regolazione del pressostato
Smontare la calotta con un attrezzo
adeguato, ossia cacciavite nr. 3 , PZ
2, figura 1 Togliere la calotta.
Non é sostanzialmente
garantita la protezione da
scariche, é possibile il contatto
con conduttori di tensione.
Tarare il pressostato, come in figura
2, sul valore di pressione nominale
prescritto, agendo sulla rotella della
scala graduata �.
Il pressostato scatta con pressione
in salita: regolazione sulla linea di
delimitazione sinistra ↑�. Il pres-
sostato scatta con pressione in
discesa: regolazione sulla linea di
delimitazione destra �↓. Rimontare
la calotta!
Assicurarsi che le superfici di tenuta
siano pulite!
1
2
GW...A4 HP
0,4
↑ ↓
0,4
↑ ↓
GW...A4 HP
8 ...66
