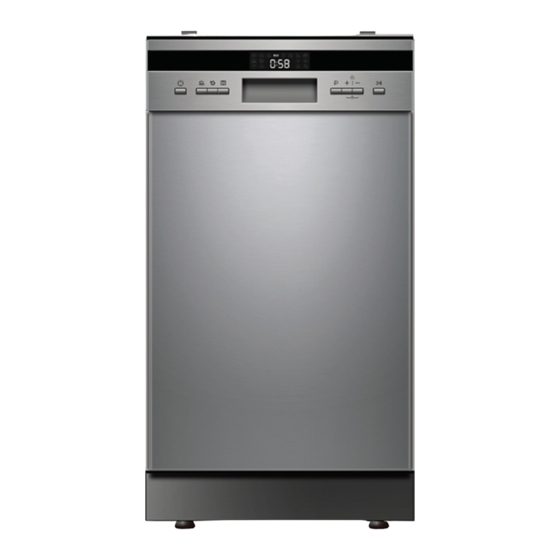
Daniela DANDW45BS Manuale d'uso - Pagina 11
Sfoglia online o scarica il pdf Manuale d'uso per Lavastoviglie Daniela DANDW45BS. Daniela DANDW45BS 18. 45cm stainless steel electronic dishwasher

WARNING!
WARNING!
Abrasive agents or some paper towels should not be used because of the risk of
scratching or leaving spots on the stainless steel surface.
Protect Against Freezing
please take frost protection measures on the dishwasher in winter. Every time after washing cycles,
please operate as follows
1.Cut off the electrical power to the dishwasher.
2.Turn off the water supply and disconnect the water inlet pipe from the water valve.
3.Drain the water from the inlet pipe and water valve. (Use a pan to gather the water)
4.Reconnect the water inlet pipe to the water valve.
5.Remove the filter at the bottom of the tub and use a sponge to soak up water in the sump.
NOTE:
NOTE:
CLEANING THE SPRAY ARMS
If your dishwasher cannot work because of the ice,
please contact professional service persons.
It is necessary to clean the spray arms regularly for hard water
chemicals will clog the spray arm jets and bearings.
Cleaning the Spray Arms
To remove the upper spray arm, hold the nut, rotate the arm
clockwise to remove it.
It is necessary to clean the spray arms regularly for hard
water chemicals will clog the spray arm jets and bearings.
To remove the lower spray arm, pull out the spray arm upward.
To remove the upper spray arm, hold the nut, rotate the arm
Wash the arms in soapy and warm water and use a soft brush to
clockwise to remove it.
clean the jets. Replace them after rinsing them thoroughly.
To remove the lower spray arm, pull out the spray arm upward.
Wash the arms in soapy and warm water and use a soft brush to
clean the jets. Replace them after rinsing them thoroughly.
HOW TO KEEP YOUR DISHWASHER IN SHAPE
After Every Wash
After every wash, turn off the water supply to the appliance and leave the door slightly open
so that moisture and odours are not trapped inside.
Remove the Plug
Before cleaning or performing maintenance, always remove the plug from the socket.
No Solvents or Abrasive Cleaning
To clean the exterior and rubber parts of the dishwasher, do not use solvents or abrasive cleaning
products. Only use a cloth with warm soapy water.
To remove spots or stains from the surface of the interior, use a cloth dampened with water an a
little vinegar, or a cleaning product made specifically for dishwashers.
When not in Use for a Long Time
It is recommend that you run a wash cycle with the dishwasher empty and then remove the plug
from the socket, turn off the water supply and leave the door of the appliance slightly open.
This will help the door seals to last longer and prevent odours from forming within the appliance.
Moving the Appliance
If the appliance must be moved, try to keep it in the vertical position. If absolutely necessary, it can
be positioned on its back.
Seals
One of the factors that cause odours to form in the dishwasher is food that remains trapped in the
seals. Periodic cleaning with a damp sponge will prevent this from occurring.
PA G E 2 0
P
I
02 9604 1226
E
I
Open
Open
12
12
W
|
danielaappliances.com.au
INSTALLATION INSTRUCTION
POSITIONING THE APPLIANCE
Position the appliance in the desired location. The back should rest against the wall behind
it, and the sides, along the adjacent cabinets or walls. The dishwasher is equipped with water
supply and drain hoses that can be positioned either to the right or the left sides to facilitate
proper installation.
LEVELLING THE APPLIANCE
Once the appliance is positioned for levelling, the height of the
dishwasher may be altered via adjustment of the screwing level
of the feet.
POWER CONNECTION
WARNING!
For personal safety:
•
Do not use an extension cord or an adapter plug with this appliance.
•
Do not, under any circumstances, cut or remove the earthing
•
Connection from the power cord.
ELECTRICAL REQUIREMENTS
Please look at the rating label to know the rating voltage and connect the dishwasher to the
appropriate power supply. Use the required fuse 10 amp, time delay fuse or circuit breaker
recommended and provide separate circuit serving only this appliance.
ELECTRICAL CONNECTION
Ensure the voltage and frequency of the power being corresponds to those on the rating plate.
Only insert the plug into an electrical socket which is earthed properly. If the electrical socket
to which the appliance must be connected is not appropriate for the plug, replace the socket,
rather than using a adaptors or the like as they could cause overheating and burns.
NOTE: Ensure proper ground exists before usee.
P
I
02 9604 1226
E
I
No Solvents or Abrasive Clea
To clean the exterior and rubber parts of
do not use solvents or abrasive cleaning
Only use a cloth with warm soapy water.
To remove spots or stains from the surfa
interior, use a cloth dampened with wate
vinegar, or a cleaning product made spe
dishwashers.
8.Installation instruc
8.Installation instruc
8. 8.
Positioning the Applian
Positioning the Applian
Position the appliance in the desired locati
along the adjacent cabinets or walls. The d
be positioned either to the right or the left s
Levelling the Appliance
About Power Connecti
About Power Connecti
WARNING!
WARNING!
For personal safety:
Do not use an extension
with this appliance.
Do not, under any circum
earthing
Connection from the po
Electrical Requirements
Please look at the rating label to know the
Use the required fuse 10 amp, time delay fu
only this appliance.
Insure proper ground
exists before use
PA G E 2 1
W
|
danielaappliances.com.au
Once the
may be a
Electri
Ensure the
those on the
properly. If
appropriate
they could c
