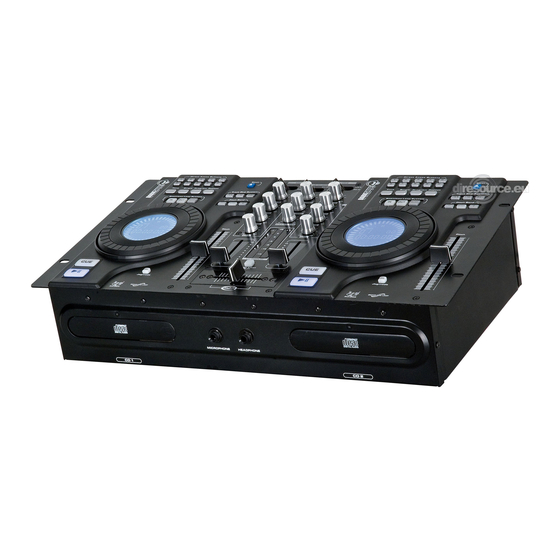
DAPAudio DS-CDJ-250 MKII Manuale d'uso - Pagina 16
Sfoglia online o scarica il pdf Manuale d'uso per Mixer musicale DAPAudio DS-CDJ-250 MKII. DAPAudio DS-CDJ-250 MKII 19. Audio mixer
Anche per DAPAudio DS-CDJ-250 MKII: Manuale del prodotto (20 pagine)

13. Time Display
Press Time button to select time display mode:
1. Elapsed time of a track (ELAPSED).
2. Re m a ining tim e of a tra c k (REM AIN).
14. Changing Pitch of the song
There are three tools available for matching the BPM of the CD:
1. Use the Pitch slider to adjust the BPM.
2. Use the Pitch Bend buttons to change the BPM temporarily.
3. Turn the Shuttle wheel to change the BPM temporarily.
1) Pitch-Slider
the Pitch adjustment function.
Pitch slider up to decrease BPM, or down to increase BPM. The adjustment range is
+/ -4%, +/ -8% or +/ -16%.
2) Pitch-Bending
pressed.
The BPM increase depends on how long you hold the button. If you hold the button for about 5
seconds, the BPM will depending on the Pitch range go to +4, +8 or +16% for PITCH BEND + or -4, -8
or -16% for PITCH BEND -. If you tap the button, the BPM will only change a little so you can change
the beat slightly without audible changing in the music.
The CD will return to the BPM indicated by the Pitch slider when you release the PITCH BEND + or
PITCH BEND - buttons.
3) Turn the Shuttle wheel
Shuttle wheel clockwise during play to increase the BPM in the forward direction,
counterclockwise to decrease the BPM. The faster you turn the wheel, the more BPM changes.
When you release the Shuttle wheel, the CD will return to the BPM set by the pitch slider.
15. Program Play
1. Stop playback and press the Pgm button. The player will enter the program mode.
2. Select the desired track by pressing the Skip button then press the Pgm button again. The selected
track will be added to the program sequence.
3. Repeat step 2. A maximum of 20 tracks can be programmed.
4. Press the Play/Pause button to start the program play from the first selection.
5. Press the Pgm button again during program play to stop playing.
6. Press and hold the button more than 2 seconds to cancel the program mode and erase all the
current program contents.
16. Loop PLAY
1. Press the Loop IN button to set the loop start point, the Loop indicator will flash on the LCD.
2. Press the Loop OUT button to set the loop end point. After the end point is set, the playback will
enter the loop play from start point to end point repeatedly.
3. Press one of the Loop buttons again, the loop play function is canceled, the Loop indicator
dimms.
17. Reloop
1. If you press the Reloop button, the disc will go back to the last selected loop.
2. Press the button over and over rapidly to start the loop again and again.
3. Press one of the Loop buttons again, the loop play function is canceled, the Loop indicator
dimms.
18. Repeat
1. Press the Repeat button once to repeat the current track.
2. Press the Repeat button again to repeat the whole medium.
3. Press the Repeat button a third time, to exit the Repeat Mode.
ider up or down, press the Pitch button to turn on
14
+ or PITCH BEND - button is
