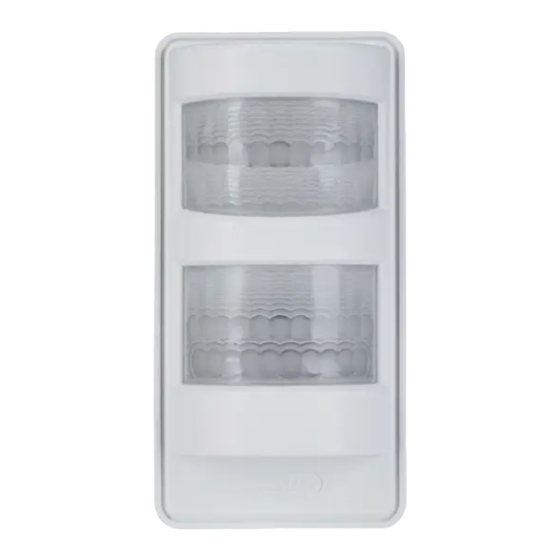
Abus PLBW10000 Manuale rapido - Pagina 2
Sfoglia online o scarica il pdf Manuale rapido per Sensori di sicurezza Abus PLBW10000. Abus PLBW10000 2. Dual motion detector
Anche per Abus PLBW10000: Manuale (18 pagine), Manuale rapido (4 pagine)

• Entfernen Sie vorsichtig die Rückabdeckung.
• Drücken Sie in ihrer Z-Wave App auf die + (Add) Taste und folgen den Anweisungen.
• Entfernen Sie den Sicherungsstreifen am Batteriefach. Wir empfehlen die ausschließliche
Verwendung der Original GP Batterien aus dem Lieferumfang.
• Das Gerät unterstützt automatische Inklusion, das heißt es geht automatisch in den Inklusionsmodus wenn
es mit Spannung versorgt wird und noch nicht mit einem Gateway verbunden ist. Die LED beginnt zu blinken.
Alternative Inklusion: Falls Sie die Batterien bereits vorab eingelegt haben bzw. der Sicherungsstreifen schon
entfernt wurde, drücken Sie stattdessen 3 mal schnell (innerhalb von 1,5 Sekunden) auf die Link Taste um die
Inklusion am Gerät zu starten.
• Die App zeigt an, dass der Einlernen-Vorgang erfolgreich war. Die Status LED blinkt nicht mehr.
• Gently lever the back cover by pulling it off.
• Click the + (Add) button in your Z-Wave App and follow the further instructions.
• Remove the safety strip from the battery compartment. We recommend the
usage of the original GP Batteries from the scope of delivery.
• The device supports automatic inclusion, i.e. it automatically goes into inclusion mode
when it is powered and not yet connected to a gateway. The LED starts flashing.
Alternative Inclusion: If you have already inserted the batteries or removed the security strip,
instead press the Link button 3 times quickly (within 1.5 seconds) to start the inclusion on the device.
• The App will show if the Add device process was successful. The Status LED does not flash anymore.
1
• Befestigen Sie die Halterung mit den beiliegenden Schrauben und Dübeln an der Wand.
• Die Montage kann an der flachen Wand oder in der Ecke erfolgen.
• Die ideale Montagehöhe für maximale Reichweite beträgt 2 Meter.
• Fix the Mounting plate on the wall by screws and dowels.
• The mounting position can be on the flat wall or in the corner.
• The ideal mounting height for maximum range is 2 meters.
2
Gerät
einlernen
Add Device
(Inclusion)
2.1
Installation
Installation
• Drücken Sie in ihrer Z-Wave App auf die -
(Remove) Taste und folgen den Anweisungen.
• Drücken Sie 3 mal schnell (innerhalb
von 1,5 Sekunden) auf die Link Taste.
• Die App zeigt an, dass der Auslern-
Prozess erfolgreich war.
• Click the – (Remove) button in your Z-Wave
App and follow the further instructions.
• Press the Link button 3 times
quickly (within 1.5 seconds).
• The App will show if the Remove
Device process was successful.
3
Gerät
auslernen
Remove Device
(Exclusion)
3x
• Drücken Sie 3 mal schnell (innerhalb
von 1,5 Sekunden) auf die Link Taste.
• Drücken Sie schnell (innerhalb von 1 Sekunde)
ein viertes mal und halten die Link Taste
für mindestens 5 Sekunden gedrückt.
• Das Gerät ist jetzt auf Werksein-
stellungen zurückgesetzt.
• Press the Link button 3 times quickly
(within 1.5 seconds).
• Press the Link button quickly (within 1 second)
again and hold it for at least 5 seconds.
• The device is now restored to factory settings.
4
Installation
Installation
Werksein-
stellungen
zurücksetzen
Factory Reset
3x + 5sec.
