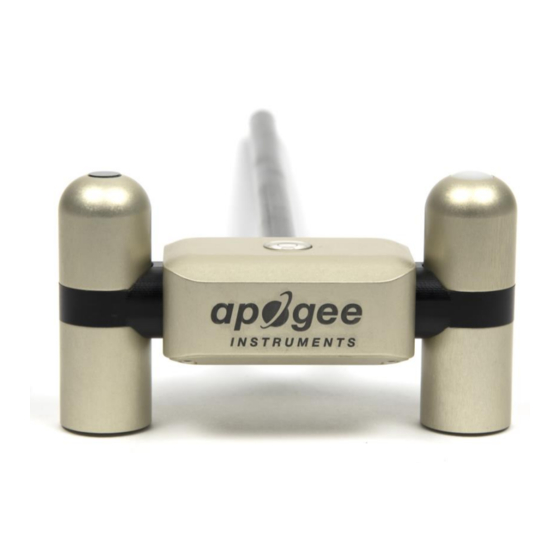
Apogee SN-500 Manuale di avvio rapido - Pagina 4
Sfoglia online o scarica il pdf Manuale di avvio rapido per Strumenti di misura Apogee SN-500. Apogee SN-500 6. Net radiometer
Anche per Apogee SN-500: Manuale d'uso (19 pagine)

INSTALLATION
Table 1 Installation (continued)
Conduct System Check
METER strongly recommends setting up and testing the system (sensors and
data loggers) in the lab or offi ce.
Inspect and verify all components are intact.
Visit the data logger product page for the most up-to-date software and
fi rmware.
Preparation
Verify all sensors are functional and read within expected ranges.
Consider the Surroundings
Choose a location that allows the up-facing sensors to be above the plant
canopy or in a position where the view of the sky is unobstructed (such as a
large canopy gap or forest clearing).
Ensure the sensor is not shaded from nearby objects (weather stations,
mounting posts, etc.).
Install on Mounting Post
Use the U-bolts to mount the mounting bracket and sensor (Section 2.1). The
U-bolts are compatible with most meterological stands, poles, tripods, and
other mounts.
Secure the System
Tighten the U-bolt nuts by hand until hand-tight, and then tighten with a
wrench. Ensure the net radiometer remains level.
CAUTION: Do not overtighten U-bolts.
Secure and Protect Cables
NOTE: Improperly protected cables can lead to severed cables or disconnected sensors.
Cabling issues can be caused by many factors such as rodent damage, driving over sensor
cables, tripping over cables, not leaving enough cable slack during installation, or poor
sensor wiring connections.
Mounting
Install cables in conduit or plastic cladding when near the ground to avoid
rodent damage.
Gather and secure cables between the sensors and the data logger to the
mounting post in one or more places to ensure cable weight does not pull the
plug free from its port.
Connect to Data Logger
Plug the sensor into a data logger.
Use the data logger to make sure the sensor is reading properly.
Verify these readings are within expected ranges.
For more instructions on connecting to data loggers, refer to
3
INDEX
C
cables 3, 5, 6
connecting 5
customer support 7
D
data 6
data logger. See ZENTRA series data loggers
I
installation 2–3
mounting 3
preparation 3
tools needed 2
M
mounting 2
mounting bracket 2
N
net radiometer 2, 4
R
recalibration 6
S
stereo plug connector 5
T
troubleshooting 6
U
U-bolt 3, 4
user manual 2
Section 2.2.
INDEX
Z
ZENTRA series data loggers 2, 3, 5
ZENTRA software
Cloud 2, 6
Utility 2, 5, 6
ZSC 2
8
