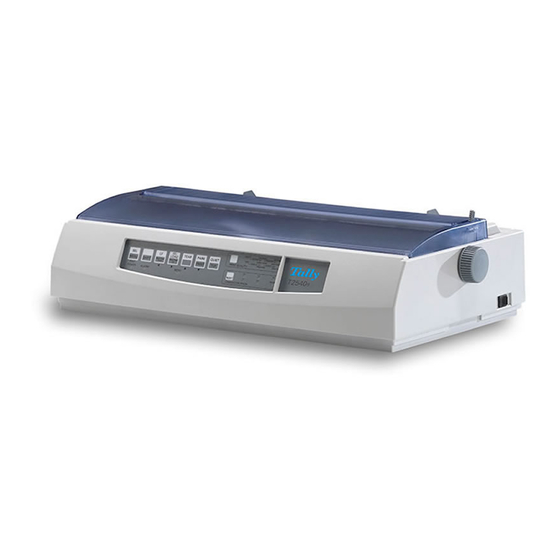
Dascom Tally T2540 Manuale di avvio rapido - Pagina 2
Sfoglia online o scarica il pdf Manuale di avvio rapido per Stampante Dascom Tally T2540. Dascom Tally T2540 2.

1.5 Connecting
2
Paper handling
2.1 Paper select lever
2.3 Fanfold paper
2.4 Single sheets
1.5.1 Interface
Make sure that the printer
and the computer are
switched off.
Connect the data cable
between the printer and the
computer, in this example a
36-pin centronics parallel
cable.
Move the paper select lever
backward for single sheets.
Move the paper select lever
forward for continuous
sheets.
A
Move the paper select lever
forward to Continuous Paper
position.
Slightly press the single sheet
feeder to the right or to the
left, until the holding pin
comes free from its recess.
Remove the feeder.
Raise the tractor doors and fit
the first two paper feed holes
onto the right tractor pins
(from your point of view).
Close the right tractor door.
Repeat the procedure for the
left tractor
Move the paper select lever
backward to Single Sheet
position.
Raise the single sheet feeder
until it locks into its mount-
ing.
1.5.2 Mains power
2.2 Print gap lever
A
–
+
A
Make sure that the power
switch which is located at the
right side of the printer is in
the Off position.
Connect the power cable to
the power inlet of the printer.
Connect the power cable plug
to a mains socket.
Switching on: Press the
power switch to the <
tion.
The printer can handle paper
with different thicknesses,
including multipart forms
with up to five parts (original
plus four copies).
A
Moving the print gap lever
to the rear reduces the print
gap (thin paper), moving to
the front widens the print gap
(thick paper).
Release the tractor locking
levers
by pulling them up.
A
Once the right forms tractor
is positioned, lock it by push-
ing down its locking lever.
Adjust the left forms tractor
to accommodate the width of
the form. Push the left lock-
ing lever down to secure the
tractor in place.
Reinstall the single sheet
feeder.
Press the FF/LOAD key.
Align the left paper guide
with the mark on the left of
the single sheet feeder. Adjust
the right paper guide to the
width of the paper used.
Insert a sheet of paper. The
paper will automatically
advance to the top-of-form
position.
If not so press FF/LOAD.
> posi-
I
A
