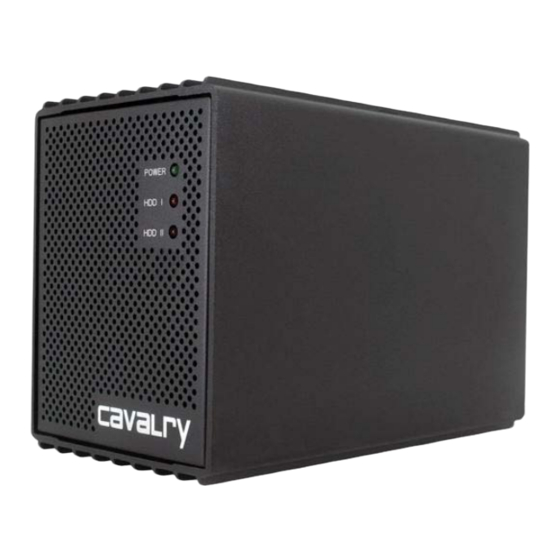
Cavalry CADA-SA2 Series Manuale di istruzioni - Pagina 7
Sfoglia online o scarica il pdf Manuale di istruzioni per Immagazzinamento Cavalry CADA-SA2 Series. Cavalry CADA-SA2 Series 10. 2-bay raid external

YOUR DISK MANAGEMENT UTILITY
YOUR DISK MANAGEMENT UTILITY
In Windows, they call it "Disk Management". In Mac, they call it "Disk Utility". Despite having different names
and appearances, both Windows Disk Management and Mac Disk Utility do basically the same thing: they allow
you to create, modify and delete any storage volume connected to your computer.
In order to get the most out of your
management utility. Please refer to a detailed glossary on our website of the terms and explanations of the
functions and procedures you will need to understand [http://www.cavalrystorage.com/manuals.aspx]. It's
generally a good idea to keep your disk management utility continuously open while you are setting up your
and the disks within it.
CADA-SA2
How to Find Your Disk Management Utility
Windows: Navigate to Disk Management: Start Menu>right-click (My) Computer>select "Manage">select
Disk Management.
Mac: Click an empty space on your Desktop. Then select (from the top of the screen) Go>Utilities>Disk
Utility.
"Seeing" Your New Disk in the Disk Management Utility
In Mac, this is a pretty straight-forward affair. Just look at the left-hand column, and search for a newly added disk
with the term "DMI" or "USB" in it's title.
Windows arbitrarily assigns a "Disk Number" to every new disk that is connected; even if the disk does NOT
show up in (My) Computer. "Disk 0" is always your system or C: drive. Your Cavalry drive will appear
somewhere beneath Disk 0. It will be given a number, like Disk 1 et al. You will probably only be able to
recognize it by its size, which will be a little bit less than the quoted drive size. If a connected disk does not appear
here, the disk is probably defective. See the troubleshooting FAQ for details.
initiaLizinG and FOrMattinG YOUr new arraY
Windows:
A)
Navigate to Disk Management: Start Menu>right-click (My) Computer>select
"Manage">select Disk Management.
Once in Disk Management, look for your drives in the bottom-right window. You may have to scroll
B)
down to find it. The disk(s) will most easily be recognized by their size. Ex.: If you are initializing
a 1 TB drive, look for a drive that is close to the same size; like 931.51 GB. Once you've found it,
take note of the disk number.
If the Initialization Wizard does not appear, right-click the disk number, and then select the "Initial-
C)
ize" option. If this option is not available, click the white box immediately to the right and select
"New Partition" for XP and "New Simple Volume" for Vista/ 7.
D)
Select "MBR/Primary Partition" and "NTFS" for XP, or for drives that are smaller than 1TB. For
later versions of Windows (7 and Vista), select "GPT/GUID" and "NTFS", or for drives that are
larger than 1 TB. Caution! GPT/GUID is not compatible with Windows XP!
, you will need to become intimately familiar with your disk
CADA-SA2
CADA-SA2
5
3
CHAPTER
4
CHAPTER
