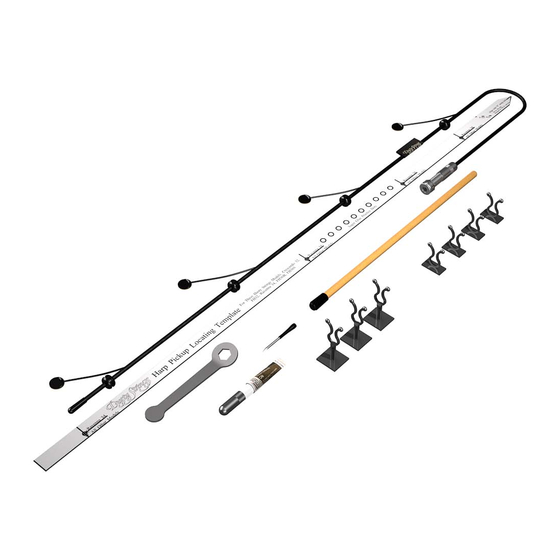
Dusty Strings P20 Manuale - Pagina 5
Sfoglia online o scarica il pdf Manuale per Amplificatore per strumenti musicali Dusty Strings P20. Dusty Strings P20 6. Pickup for lever harps

Step 7: Glue Pickup Elements in Place
Caution: Once the elements are glued on, they are very dif-
ficult to remove without damaging the pickup or the sound-
board. Be sure to practice using the tools as described in the
sidebar at right.
1.
Starting with the top pickup element, follow this
sequence:
a.
Apply the super glue to the pencil dot.
b.
Keeping the pickup element parallel to the sound-
board (to ensure an even thickness of glue) press the
pickup down firmly and quickly onto the super glue
and hold in place with the provided pressure stick.
c.
Important:
Hold firmly for two minutes, without
moving the pickup element. To ensure a complete
glue bond, we recommend using a timer to make
sure you hold for a full two minutes.
d.
The lead wire should naturally curve away from the
soundboard (see figure 7). If necessary, adjust the
pickup harness in the clips to ensure that the lead
wires won't touch the soundboard and cause unwant-
ed vibration.
e.
For all Dusty Strings harp models except the
FH36S, the pickup element lead wire will bend up-
ward, toward the top of the harp (see figure 7).
f.
For the FH36S, because the harness clips attach to
the finger braces instead of the soundboard lining,
the pickup element lead wires will bend downward,
toward the bottom of the harp (see figure 8).
2.
Proceed with the next pickup, and so on, until all are
done.
Pickup element lead wire
Figure 7 – Pickup Element Installation
Dusty Strings • 3450 16th Ave. W., Seattle, WA 98119 • Toll Free 866-634-1656 • www.dustystrings.com
Practice manipulating and placing the element
1.
Hold a pickup element by its lead wire, and guide it
into position in the air over the pencil dot, parallel
to the soundboard surface. It's best to drop the ele-
ment directly onto the glue dot rather than sliding
it along the soundboard. Sliding can be messy and
may interfere with the strength of the glue bond.
2.
Position the element shiny side down, and practice
using the pressure stick to press the pickup element
down onto the soundboard.
3.
A useful trick, especially when it's difficult to get
both hands inside the harp, is to use double-stick
tape or poster putty to attach the element to the
pressure stick. Then you can use the stick to position
the element instead of your hands. Once the glue
has cured for two minutes, you'll be able to remove
the stick without pulling the element back up again.
4.
Work with this until you have a feel for
manipulating and positioning the elements.
Practice controlling glue
1.
Find the super glue practice dots located on the
Pickup Locating Template.
2.
Touch the tip of the tube to the paper and squeeze
out just enough glue to fill the circle. This should be
less than a drop. This is enough glue to bond the en-
tire surface of the pickup to the soundboard without
excess that will run and soak into the soundboard.
Try to be as neat as possible.
3.
When you have a feel for the right amount of glue,
begin gluing the pickups in place.
Top of harp
String rib
Figure 8 – FH36S Pickup Element and Lead Wire
5
Finger brace
Pickup element
Top of harp
String rib
