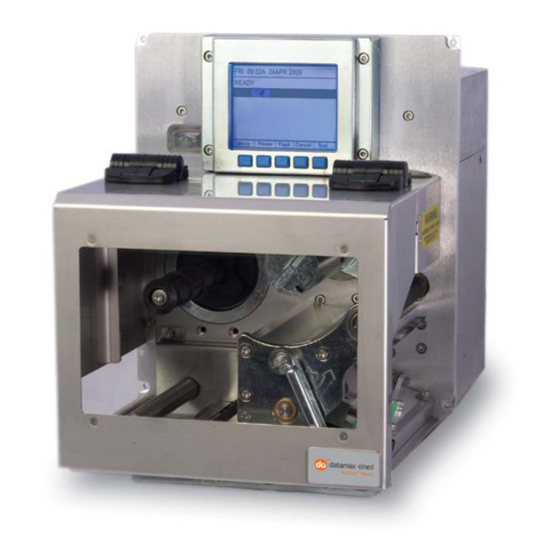
Datamax A-Class Mark II Manuale di avvio rapido - Pagina 4
Sfoglia online o scarica il pdf Manuale di avvio rapido per Lettore di codici a barre Datamax A-Class Mark II. Datamax A-Class Mark II 6. Rfid-equipped printers

Step 2: Know the Printer
For ease of use, the following RFID factory default settings can be modified directly from the printer's
front panel:
RFID POSITION = 1.10
TAG TYPE = GEN 2
TAG DATA SIZE = 96-BIT
RETRY ATTEMPTS = 3
For example, to change the factory defaults using the front panel, press the MENU Key:
↓
Then use the
Key to scroll to PRINTER OPTIONS, and press the ENTER Key:
Next, select the factory default setting to be modified (for example, RETRY ATTEMPTS):
Use the ↓ or the ↑ Keys to scroll to RFID then press the ENTER Key.
1)
Use the ↓ or the ↑ Keys to scroll to RETRY ATTEMPTS then press the ENTER Key.
2)
Use the ↓ or the ↑ Keys to enter the desired number of attempts then press the ENTER Key.
3)
4)
Press the ESC Key and, at the SAVE CHANGES prompt, answer YES to complete the setup.
Notes:
(1) If the display indicates NOT INSTALLED after selecting RFID, then the device is not equipped or not
communicating with the printer.
(2) For User Interface details, see the Operator's Manual.
(3) To restore factory defaults, select SET DEFAULTS in the RFID options menu.
As a final note on default settings, encoded RFID data can be exported to a host device (with proper
cabling) by enabling OPTION FEEDBACK. The data is contained in the format <A;B;C;D;E;F>[CR]
where:
A -
Is the device type: R = RFID; and, S = Linear Scanner.
B -
Is the resulting status: C = entire label complete; F = faulted (failed) label; and, U = unknown.
C -
Is the number of expected reads for bar codes or tags, given in two characters.
D -
Is the number of good reads for bar codes or tags, given in two characters.
E -
Is the printer's internal Job and Sub Job Identifier, given in four characters each.
F -
Is the data that was read, delimited with semicolons (;) on multiple reads.
To enable OPTION FEEDBACK, proceed as follows:
1)
Press the MENU Key.
Use the ↓ or the ↑ Keys to scroll to COMMUNICATIONS then press the ENTER Key.
2)
Use the ↓ or the ↑ Keys to scroll to HOST SETTINGS then press the ENTER Key.
3)
Use the ↓ or the ↑ Keys to scroll to OPTION FEEDBACK then press the ENTER Key.
4)
Use the ↓ or the ↑ Keys to select the desired output format (RFID HEX or RFID ASCII) then press the ENTER Key.
5)
6)
Press the ESC Key and, at the SAVE CHANGES prompt, answer YES to complete the setup.
3
