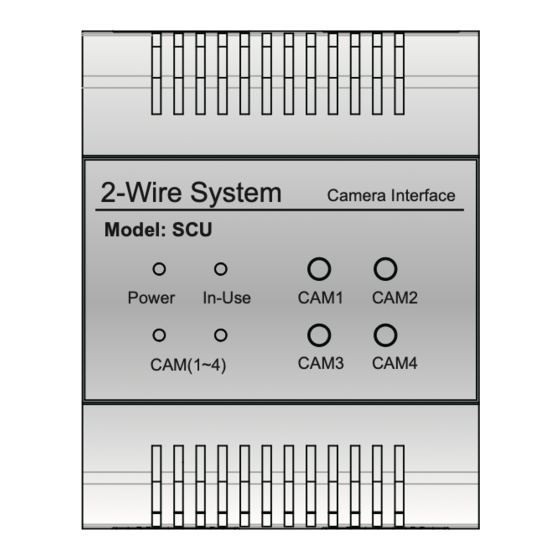
2easy DT-SCU Manuale d'uso - Pagina 4
Sfoglia online o scarica il pdf Manuale d'uso per Sistema interfonico 2easy DT-SCU. 2easy DT-SCU 8. Camera interface

DIP:DIP switches.
Bit
Bit State
1 2
ON
1 2
ON
DIP1~DIP2
1 2
ON
1 2
ON
DIP3
1 2
ON
DIP4
1 2
ON
DIP5
1 2
ON
DIP6
1 2
ON
3. Unit Mounting
set to the first DT-SCU.
3 4 5 6
set to the second DT-SCU.
3 4 5 6
set to the third DT-SCU.
3 4 5 6
set to the fourth DT-SCU.
3 4 5 6
TYPE A Camera used. When DT-SCU connected TYPE A Camera, it should
be set to ON.
3
4 5 6
TYPE B Camera used. When DT-SCU connected TYPE B Camera, it should
be set to ON.
3
4
5 6
When all DT-SCU of the system are configured to connect the two cameras(two
TYPE A Cameras or two TYPE B Cameras ), it should be set to ON;
When all DT-SCU of the system are configured to connect the four cameras(two
3 4
5
6
TYPE A Cameras and two TYPE B Cameras ), it should be set to OFF.
When the system connected SC6V, and SC6V connected two cameras(the
two cameras of the device is valid),it should be set to ON;
When the system don't connected SC6V(or connected SC6V, but SC6V
3 4
5
6
don't connected camera), it should be set to OFF.
Mounting Buckle
Description
Step1: Mount the din rail to
the wall with screws ;
Din rail
Step2: Pull down the
mounting buckle,then hang
the unit on din rail.
Din rail
-3-
