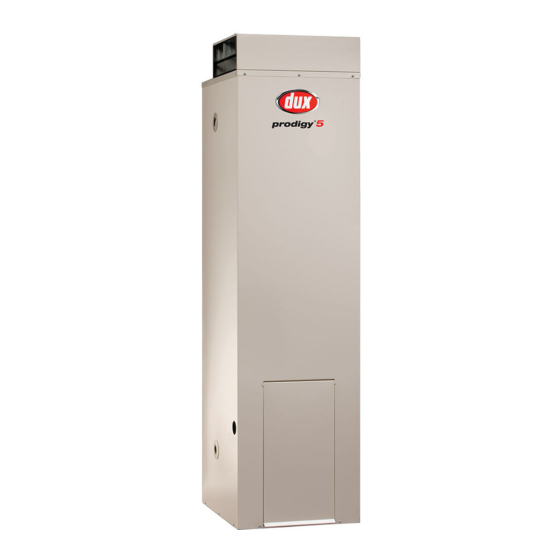
Dux Prodigy 5 135DB5P Manuale d'uso - Pagina 10
Sfoglia online o scarica il pdf Manuale d'uso per Scaldabagno Dux Prodigy 5 135DB5P. Dux Prodigy 5 135DB5P 20. 5 star gas hot water heater

Caution:
Do not light the water heater until it has
been filled with water (see Filling the
Water Heater on page 7).
Do not attempt to light the water heater
if the pilot is out and the knob is in
the "ON" position (one of the number
settings). Follow the steps below.
Important Safety Note:
Do not look directly into the burner area.
Keep your head above the top of the
access cover opening. Use a mirror to
observe the flame.
Lighting Procedure:
The diagram on the next page shows
the location of the control knob and the
igniter button on the gas control valve.
1. Remove the access cover. (A copy of
the lighting procedure can also be
found on the inside of the access
cover).
2. Turn the control knob fully clockwise to
the "•" (off) position.
3. Wait five (5) minutes so any build-up of
unburnt gas can escape.
4. Turn the control knob to the
position.
5. Depress the control knob fully (until
disappears below housing) and after
thirty (30) seconds, whilst keeping the
control knob depressed, repeatedly
8
Owner's Manual – Prodigy 5
Lighting the Water Heater
(pilot)
press the igniter button (for up to 40
seconds) until the pilot flame ignites.
Note - it is not possible to depress the
control knob fully if the gas control valve
has activated its safety shutoff feature.
In this case, wait sixty (60) seconds for
the gas control valve to reset.
6. Keep the control knob depressed for
twenty (20) seconds after the pilot
flame lights. Use a mirror to observe
the pilot flame. Do not attempt to
observe the flame directly.
7. Release the control knob and check
the pilot is still alight.
8. If the pilot has failed to light or has not
remained alight, turn the control knob
to "•" (off). Wait five (5) minutes for the
escape of unburnt gas, then begin
again at step 4.
9. When the pilot flame remains alight
with the control knob released, turn
the control knob anticlockwise to one
of the number settings. A minimum
setting of "6" is recommended and
this will give a water temperature of
about 60°C.
10. Turn the control knob to a
higher number for higher water
temperatures.
11. If the main burner does not light
at the selected setting, the water
may already be at the selected
temperature.
12. Replace the access cover and ensure
it is firmly in position.
H3109
3109
Rev. J
