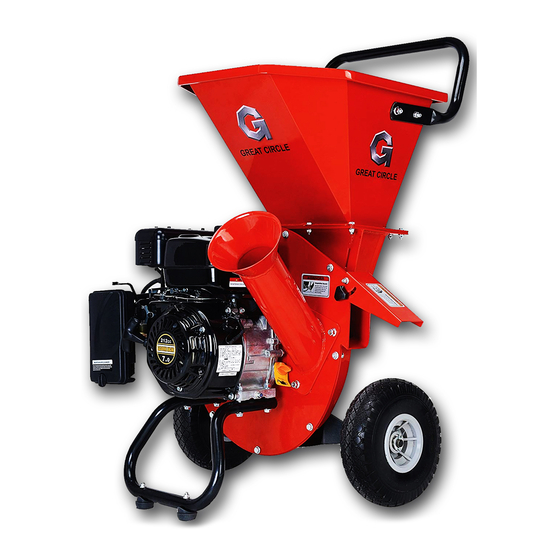
Great Circle LCE01 Manuale di istruzioni - Pagina 11
Sfoglia online o scarica il pdf Manuale di istruzioni per Tritacarte Great Circle LCE01. Great Circle LCE01 18. Chipper shredder

Check Safety Labels
1. Service Interval: Every spring and fall.
2. Check that the safety labels are in place and undamaged.
3. Sample illustrations and part numbers of the decals can be found on page 6. Replace any damaged or missing
decals.
Inspect Cone, Hopper, & Guards
1. Service Interval: Every spring and fall.
2. Check that the chipper cone, shredder hopper, and discharge guards are in place, undamaged, and secure.
Replace any damaged or missing parts.
Clean Debris from Engine & Chipper
1. Service Interval: Before each use and every 100 hours.
2. The engine requires air flow to cool itself and for combustion.
3. Before each use, clean any debris from the unit especially from around the air shroud intake, air filter, and
muffler. Every 100 hours, remove the engine air shroud and clean out any debris from the engine cooling fins.
We recommend having this service performed by an authorized dealer.
Inspect / Rotate Shredding Hammers (See Figure 7)
Service Interval: Every 25 Hours, or As Necessary
The shredding hammers of this unit can be rotated to
provide a new cutting surface as required.
The Y hammers can be flipped over once.
To inspect the shredding hammers:
1. Disconnect the spark plug wire and secure it away
from the spark plug.
2. Remove the small circular access panel (B) from the
back of the shredder housing.SEE FIGURE 7
3. Inspect the cutting edges of the Y-hammers (A).
Figure 7
Inspect Chipping Knives (See Figure 8)
Service Interval: Every 25 hours, or as necessary
The chipping knives of this unit can be rotated or
sharpened to provide a new cutting surface as
required. When inspecting the knives be careful to
avoid touching the sharpened edges. To inspect the
chipping knives:
1. Disconnect the spark plug wire and secure it away
from the spark plug.
2. Remove the nuts securing the chipper cone to the
front of the chipper. Remove the chipper cone to
access the knives. SEE FIGURE 8
3. Using the recoil starter, slowly pull the starter rope to
rotate the rotor into position so the blades can be
seen.To sharpen or replace the chipper knives, see
the Troubleshooting and Repair section.
Figure 8
9
