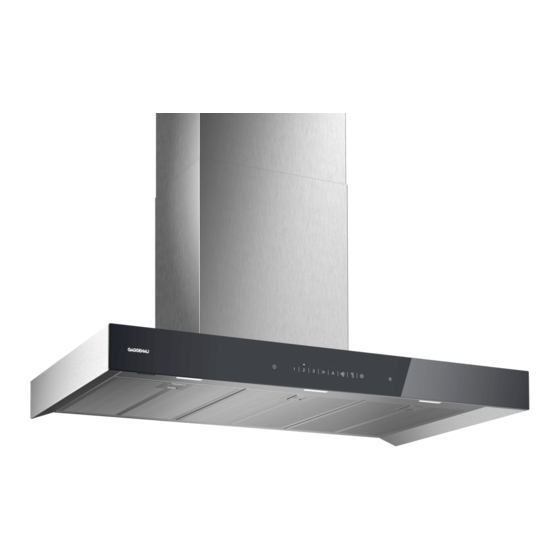
Gaggenau AW240191 Manuale d'uso e istruzioni per l'installazione - Pagina 16
Sfoglia online o scarica il pdf Manuale d'uso e istruzioni per l'installazione per Cappa di ventilazione Gaggenau AW240191. Gaggenau AW240191 20.

en Installation instructions
Drill five holes with a diameter of 8 mm to a depth
4.
of 80 mm for the attachments and push in the wall
plugs flush with the wall.
Installing the appliance bracket
Screw on the angle bracket for the flue duct.
1.
Screw on the brackets for the appliance until they
2.
are hand-tight.
Do not firmly tighten the screws.
16
Screw in the threaded pin, leaving it protruding out
3.
of the wall by 5–9 mm.
Installing the appliance
First remove the protective film from the back of the
1.
appliance and, following installation, remove the rest
of the film.
When mounting the appliance, ensure that it en-
2.
gages properly with the mounting supports.
To align the appliance horizontally, turn the mount-
3.
ing brackets.
If required, move the appliance to the right or to the
left.
Firmly tighten the screws for the mounting brackets,
4.
holding the mounting brackets in place.
Firmly tighten the knurled nuts.
5.
Piping
Note: If you are using an aluminium pipe, smooth the
connection area beforehand.
We recommend the piping with an exhaust air pipe dia-
meter of 150 mm.
